
Pillow Fort Set Up
This document was created in March 2025 and may not reflect material changes.
The Pillow Fort is fairly easy to set up, and this guide will help you along the way.
Step 0: Plug it in.
Step 1: Empty the trailer of non-relevant contents, including the bed frames.
Step 2. Unfold and place the floor padding. The pieces are numbered; start with piece 1 near the smaller door.
Step 3. Unfold the shaped carpet. It is similarly tailored.
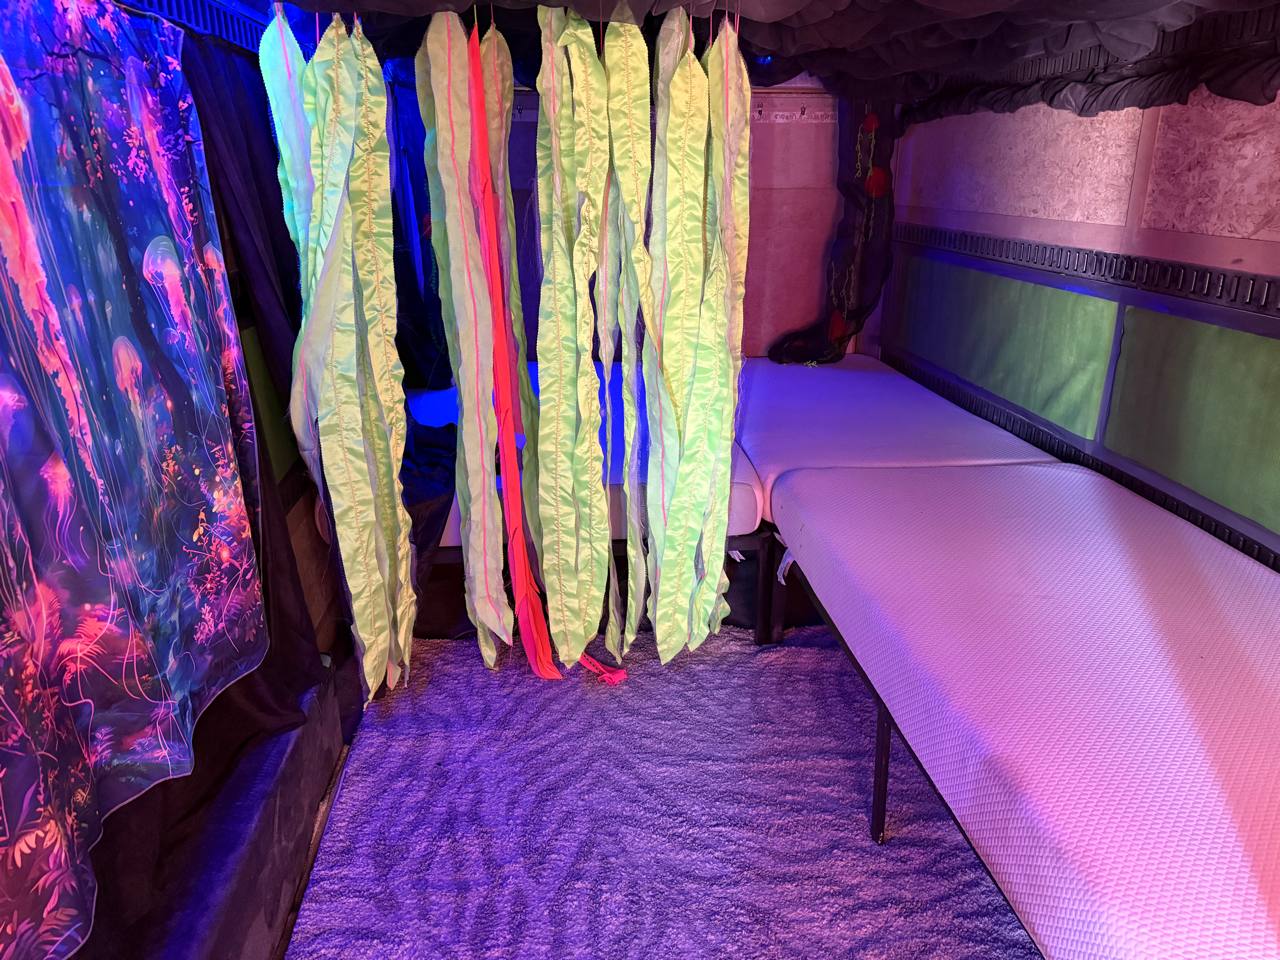
Step 4. Place the bed frames, mattresses, and 2-3 rectangular rugs. The rug patterns are stripey gray/white.
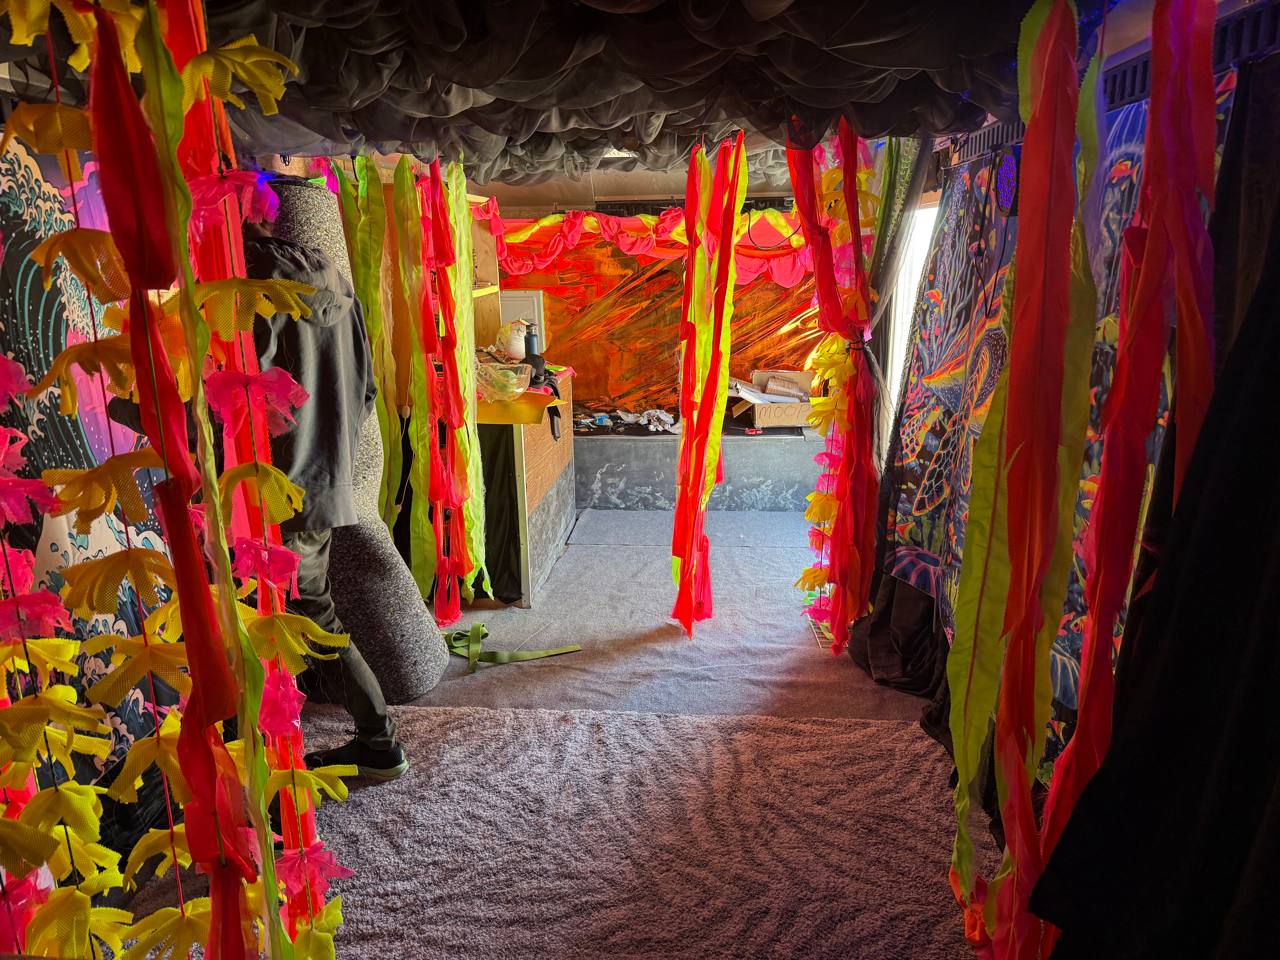
Step 5. Roll down the wall decorations. Try to keep the bungees attached to the metal mounting grates if they are already looped through them - the staples are not a great way to affix them.
Step 6. Find the large black plastic tub with the hanging decorations and lights.
Step 7. Place the hanging decorations using the photos below as a guide. Look for foam 'circles' on the ceiling that have hooks for hanging.
Note: the 2 black mesh bags with round plastic orbs are placed in the back. It's possible to hang them using only two points, so that they hang higher. You might have to remove the foam 'cuff' from the ceiling in order to hook them in.
Step 8. Hang up the three medium sized black lights so that they are shooting ACROSS the trailer, on to one of the murals. There are extension cords going from the power outlets that should facilitate to this. Use a zip tie or a bungee to affix them to the top mounting rack. Try to keep the lights away from an power cord or other sensitive items, as they do get hot over time.
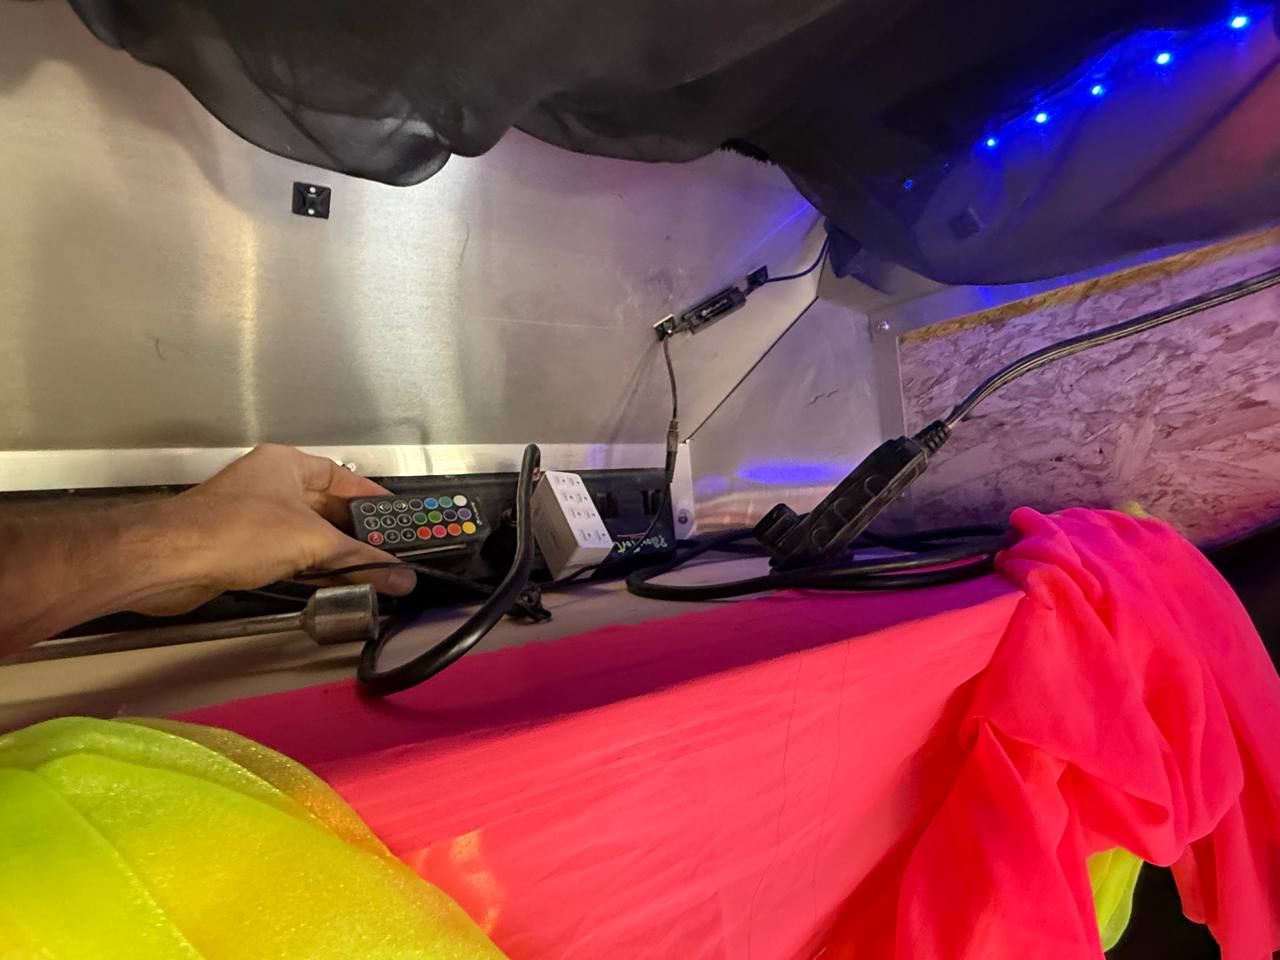
Step 9. Turn on the USB blacklights; their controllers are to the right of the 'work table'. They should be plugged in to the controller on the top of the 'work table'.
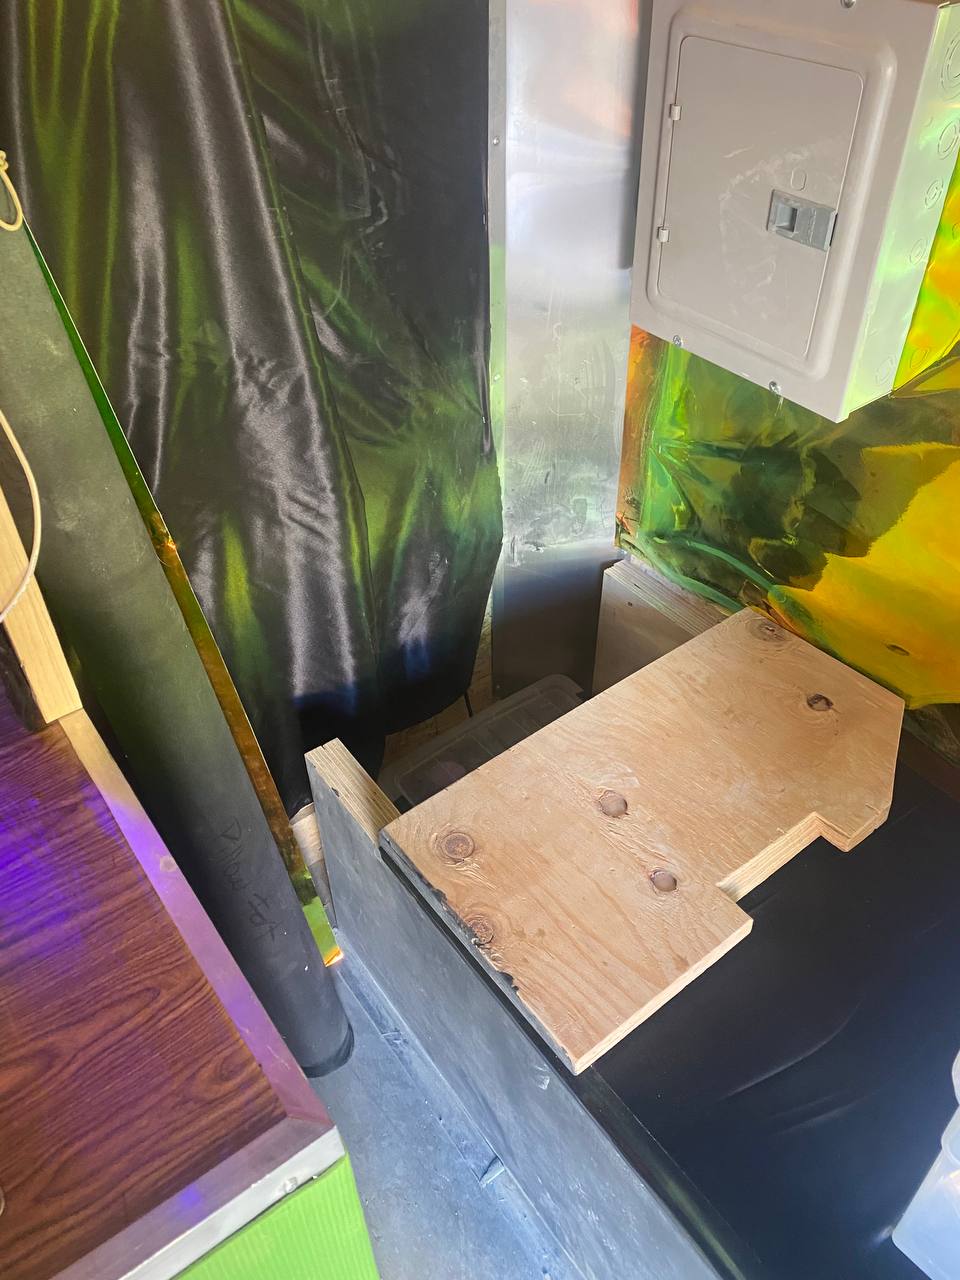
Step 10. Set up the 'work table' display. Place the pink sheet on top of the work table; it should be inside one of the chests. The items for the display should be in the build in storage near the front of the trailer. See below.
Step 11. Plug in the 'Turtle Egg' to the same USB port on top of the 'work table'. Position the base/projecter so that it projects on to one of the undersea murals for a 'wavy' effect. Optional: connect to the bluetooth and play some chill ambient music.
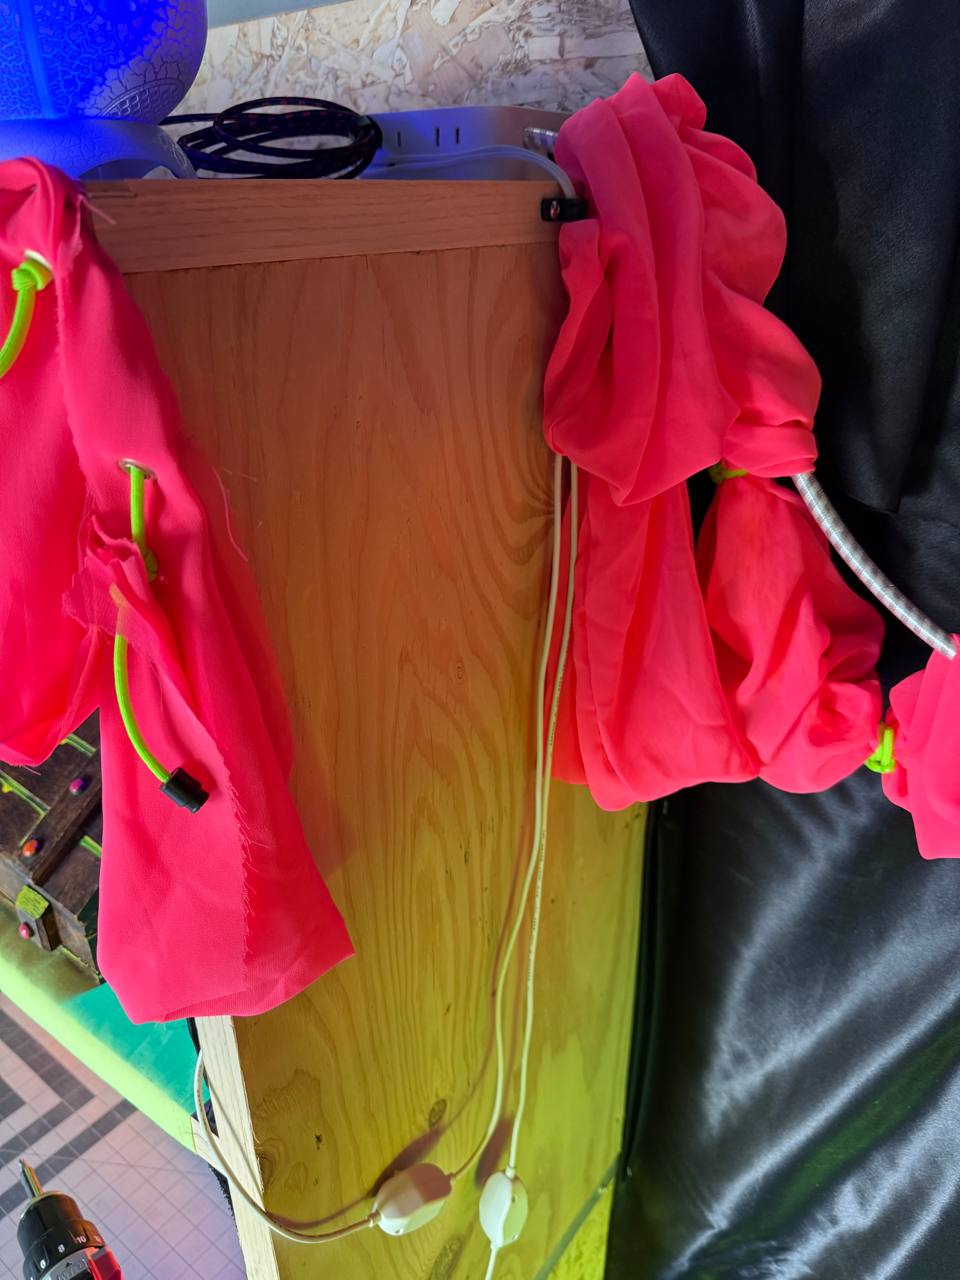
Step 12. Turn on the installed lights. One plug should be in the door and one near the 'work table'. Here is what the cables near the door look like. Feel free to select a color; we typically go with blue or violet.
Step 13. Turn on the A/C.
Congrats! You've set up the pillow fort and it is now ready for lounging. Invite others to nest when you decide to leave its cool embrace.