
Pillow Fort Set Up
Updated for Burning Man 2025.
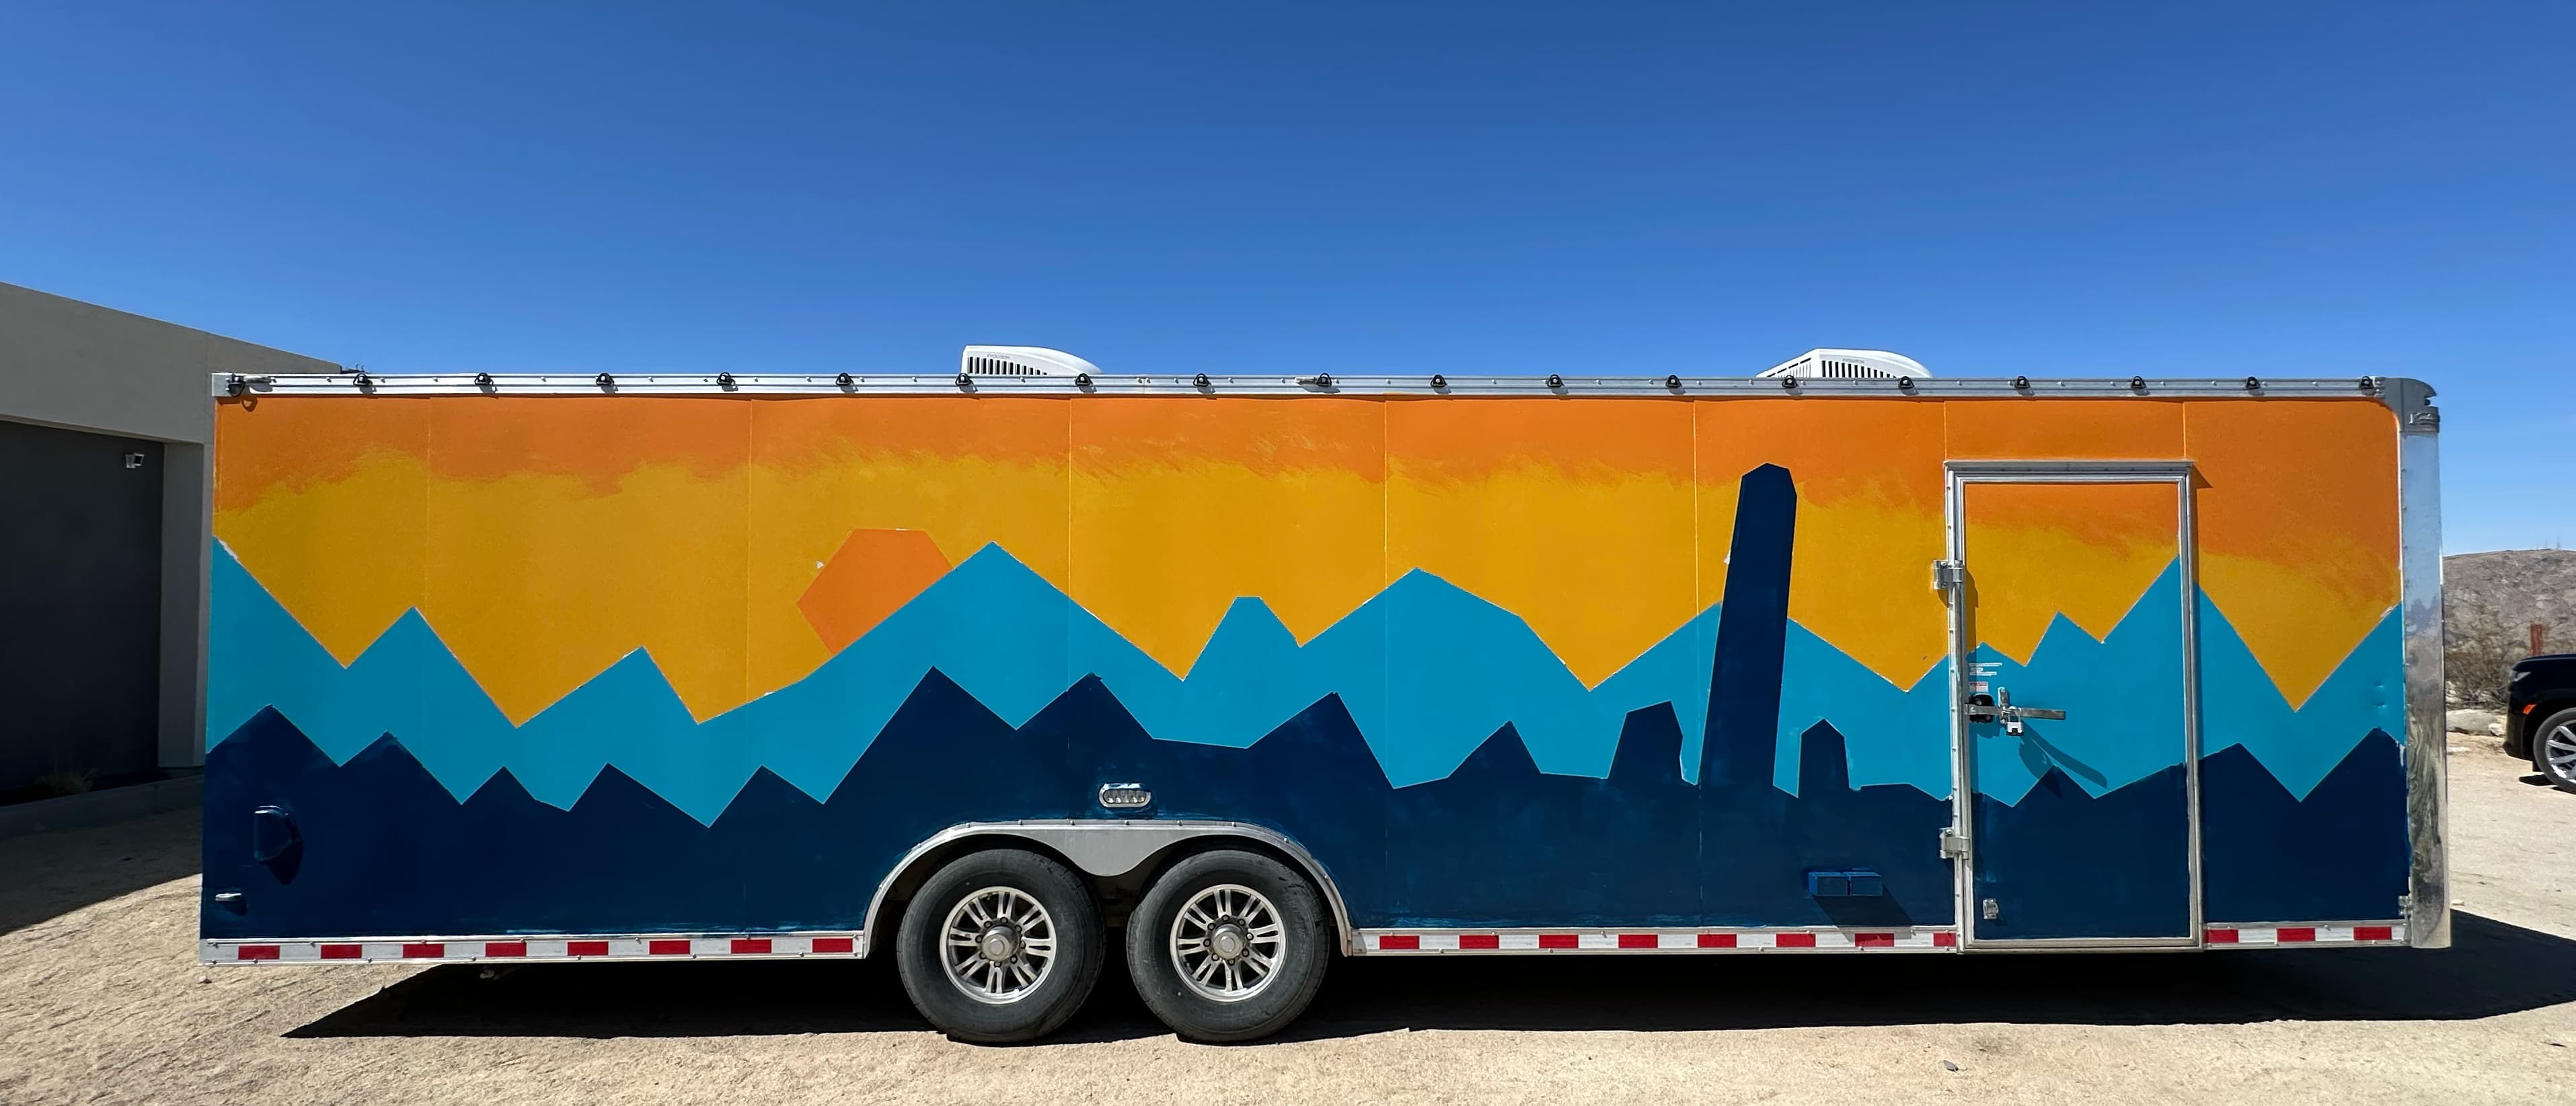
The Pillow Fort is fairly easy to set up, and this guide will help you along the way!
Physical Setup
After the pillow fort has been dropped off, you need to stabilize the back corners so it doesn't tip backwards. There are stabilizing jacks located inside the passenger door on the right. Install two of them under the rear corners. Important: They should be positioned so as to provide support to the main, load-bearing steel frame of the trailer.

Stabilizing Jack Installation Instructions
The long bolt in the center of the jack stand is threaded; At the top of the jack stand is a large nut that fits into a pocket to keep it from turning; The center bolt raises and lowers by turning the long bolt with the T-handle, either clockwise or counter-clockwise; Place under a section of sub frame close to the corners. The manufacturer recommends using wood or concrete blocks under jacks.
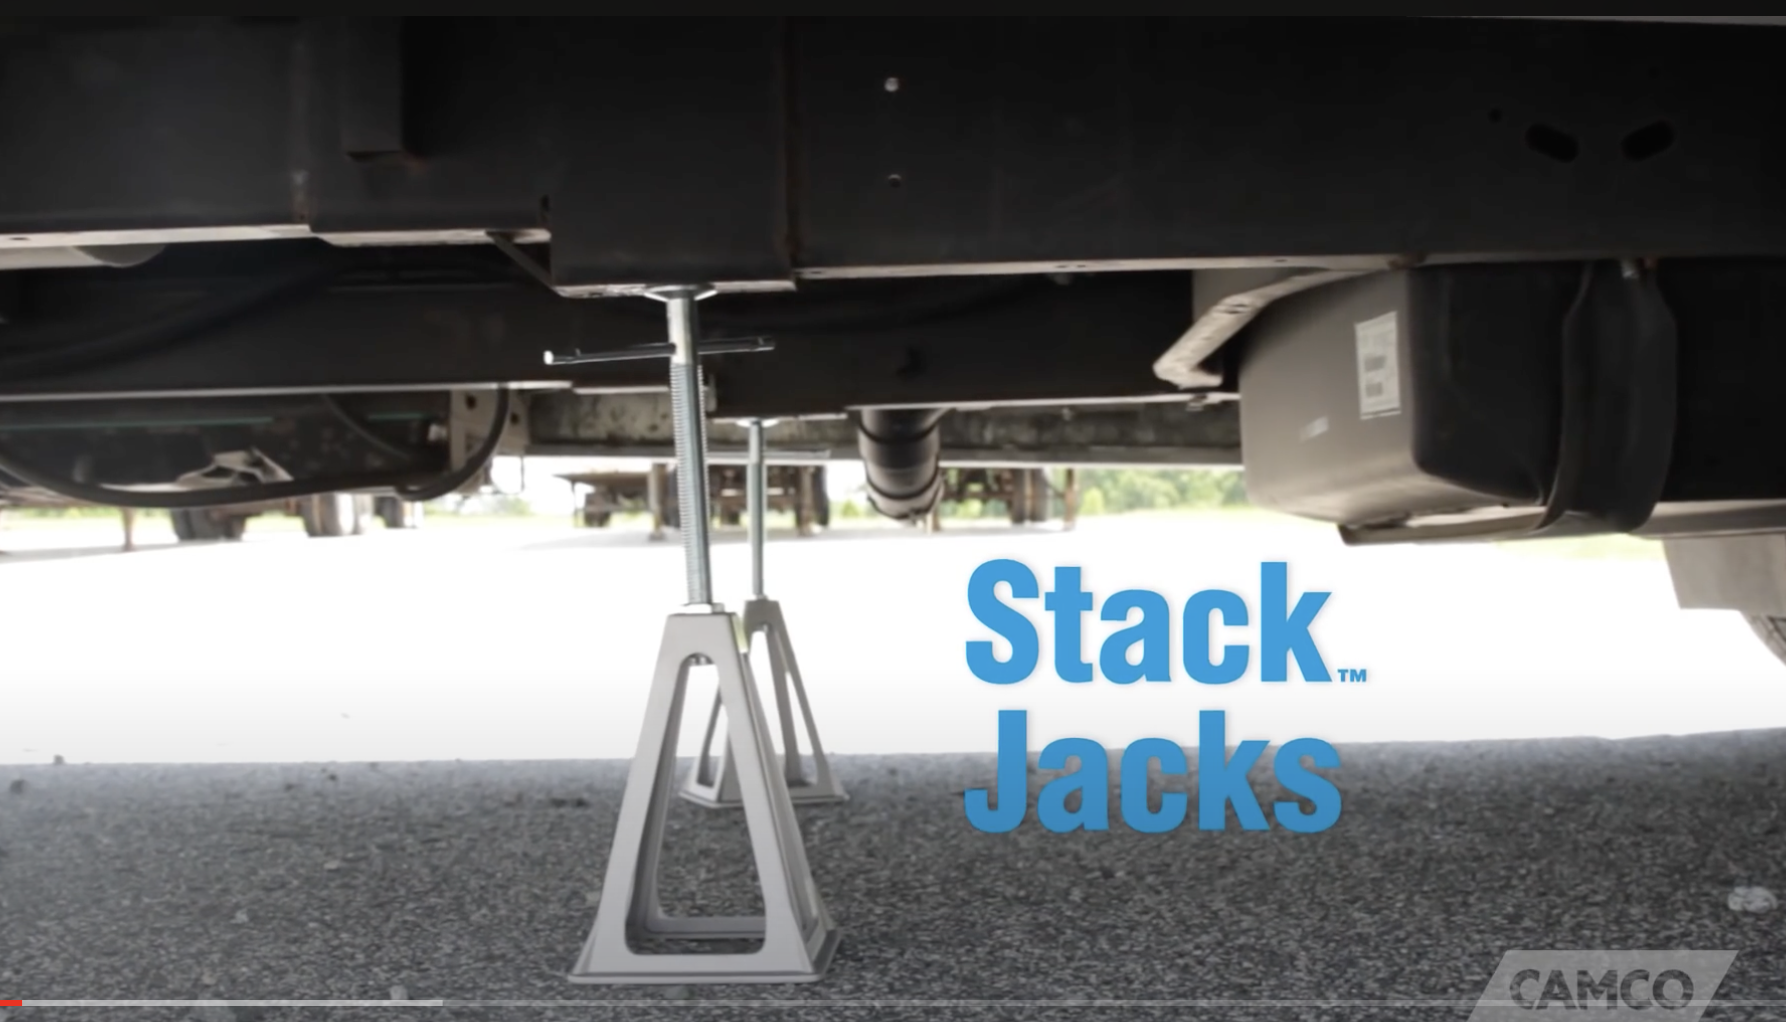
They are not strong enough to support the weight of the trailer, so don’t jack them so far that they are pushing the trailer up in the air. They are only intended to keep the trailer from tipping back when people walk to the back, and to keep the trailer from rocking back and forth.
Warning: If you install the jacks when the trailer is empty, and try to remove them when the trailer is loaded, you will find that the added weight pressing down on the jacks makes it extremely difficult to remove them. You should install the jacks immediately on delivery when the trailer is at its maximum weight so they will be easy to remove.
The infrastructure team will provide power to the trailer by connecting the NEMA SS2-50P plug, located on the front exterior, to a spider box.
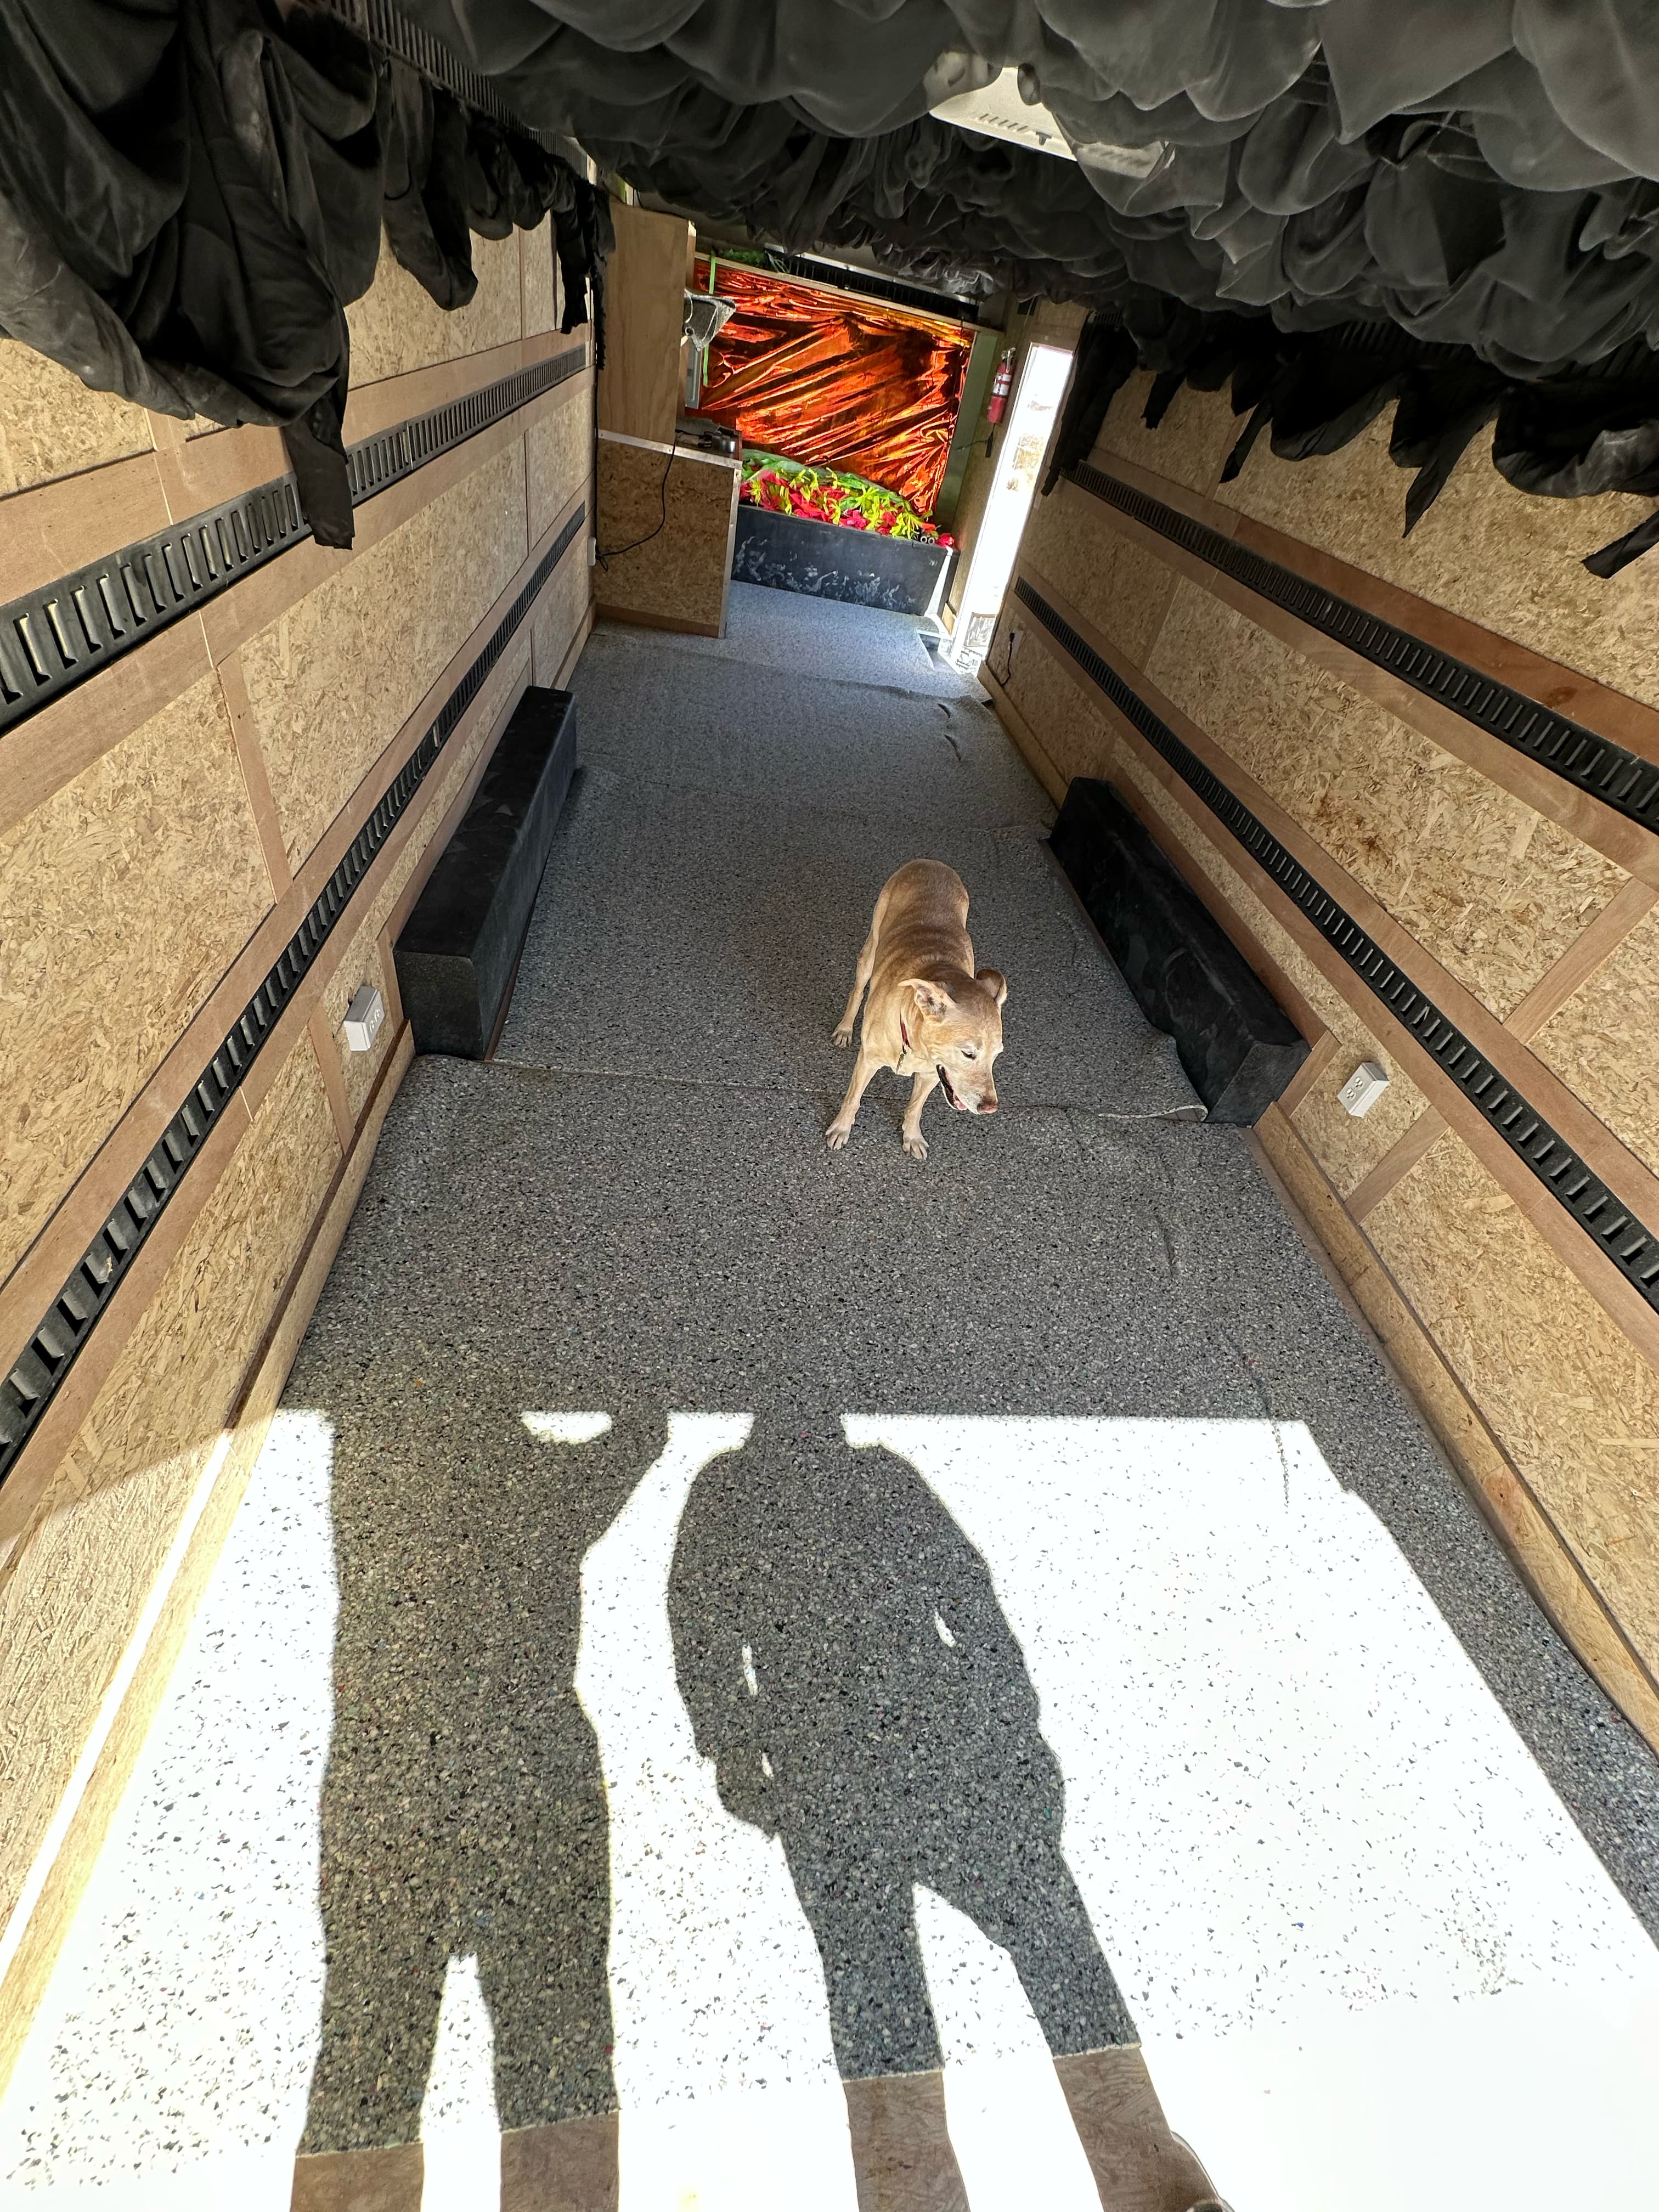
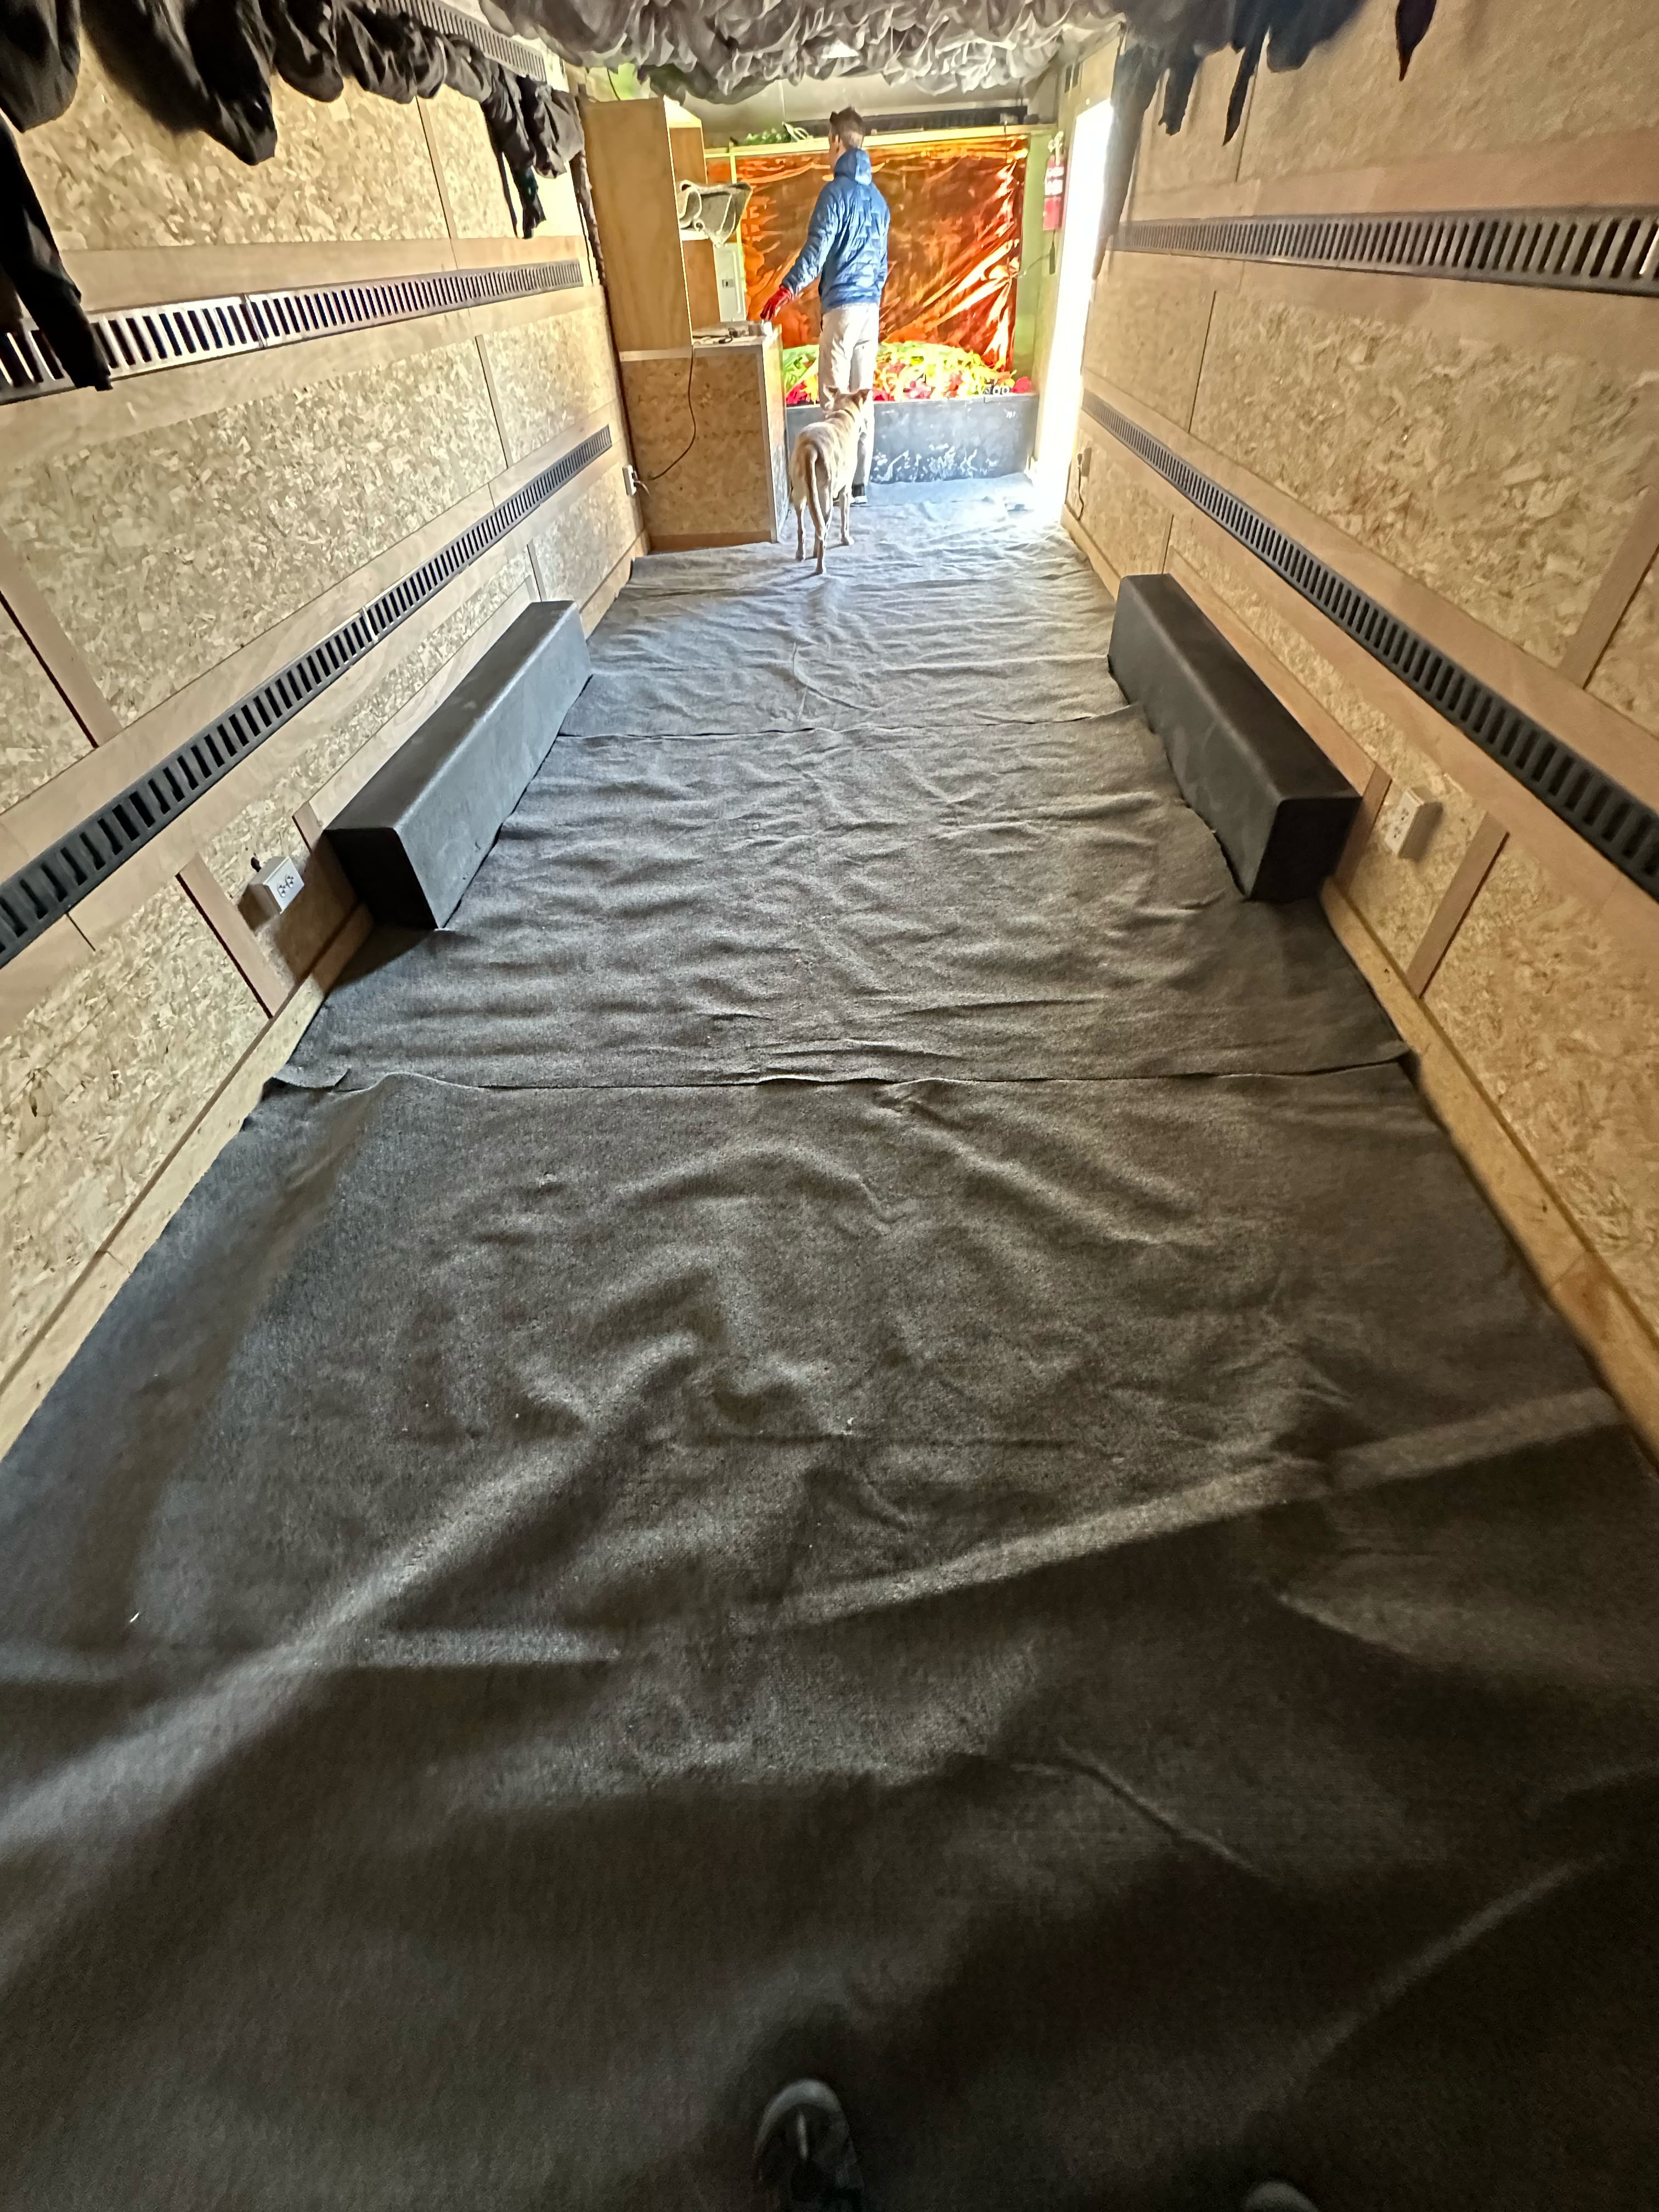
The pillow fort contains gear that goes elsewhere in camp such as audio and lighting equipment, and some gear that will not end up being used on playa but needs to be stored someplace sheltered. Before you empty the pillow fort, you will probably want to set up a tent where this equipment can be move and stored during build week.
- Empty most items from the trailer, including
thebed frames.SweepAnyoutitemsmoop.that
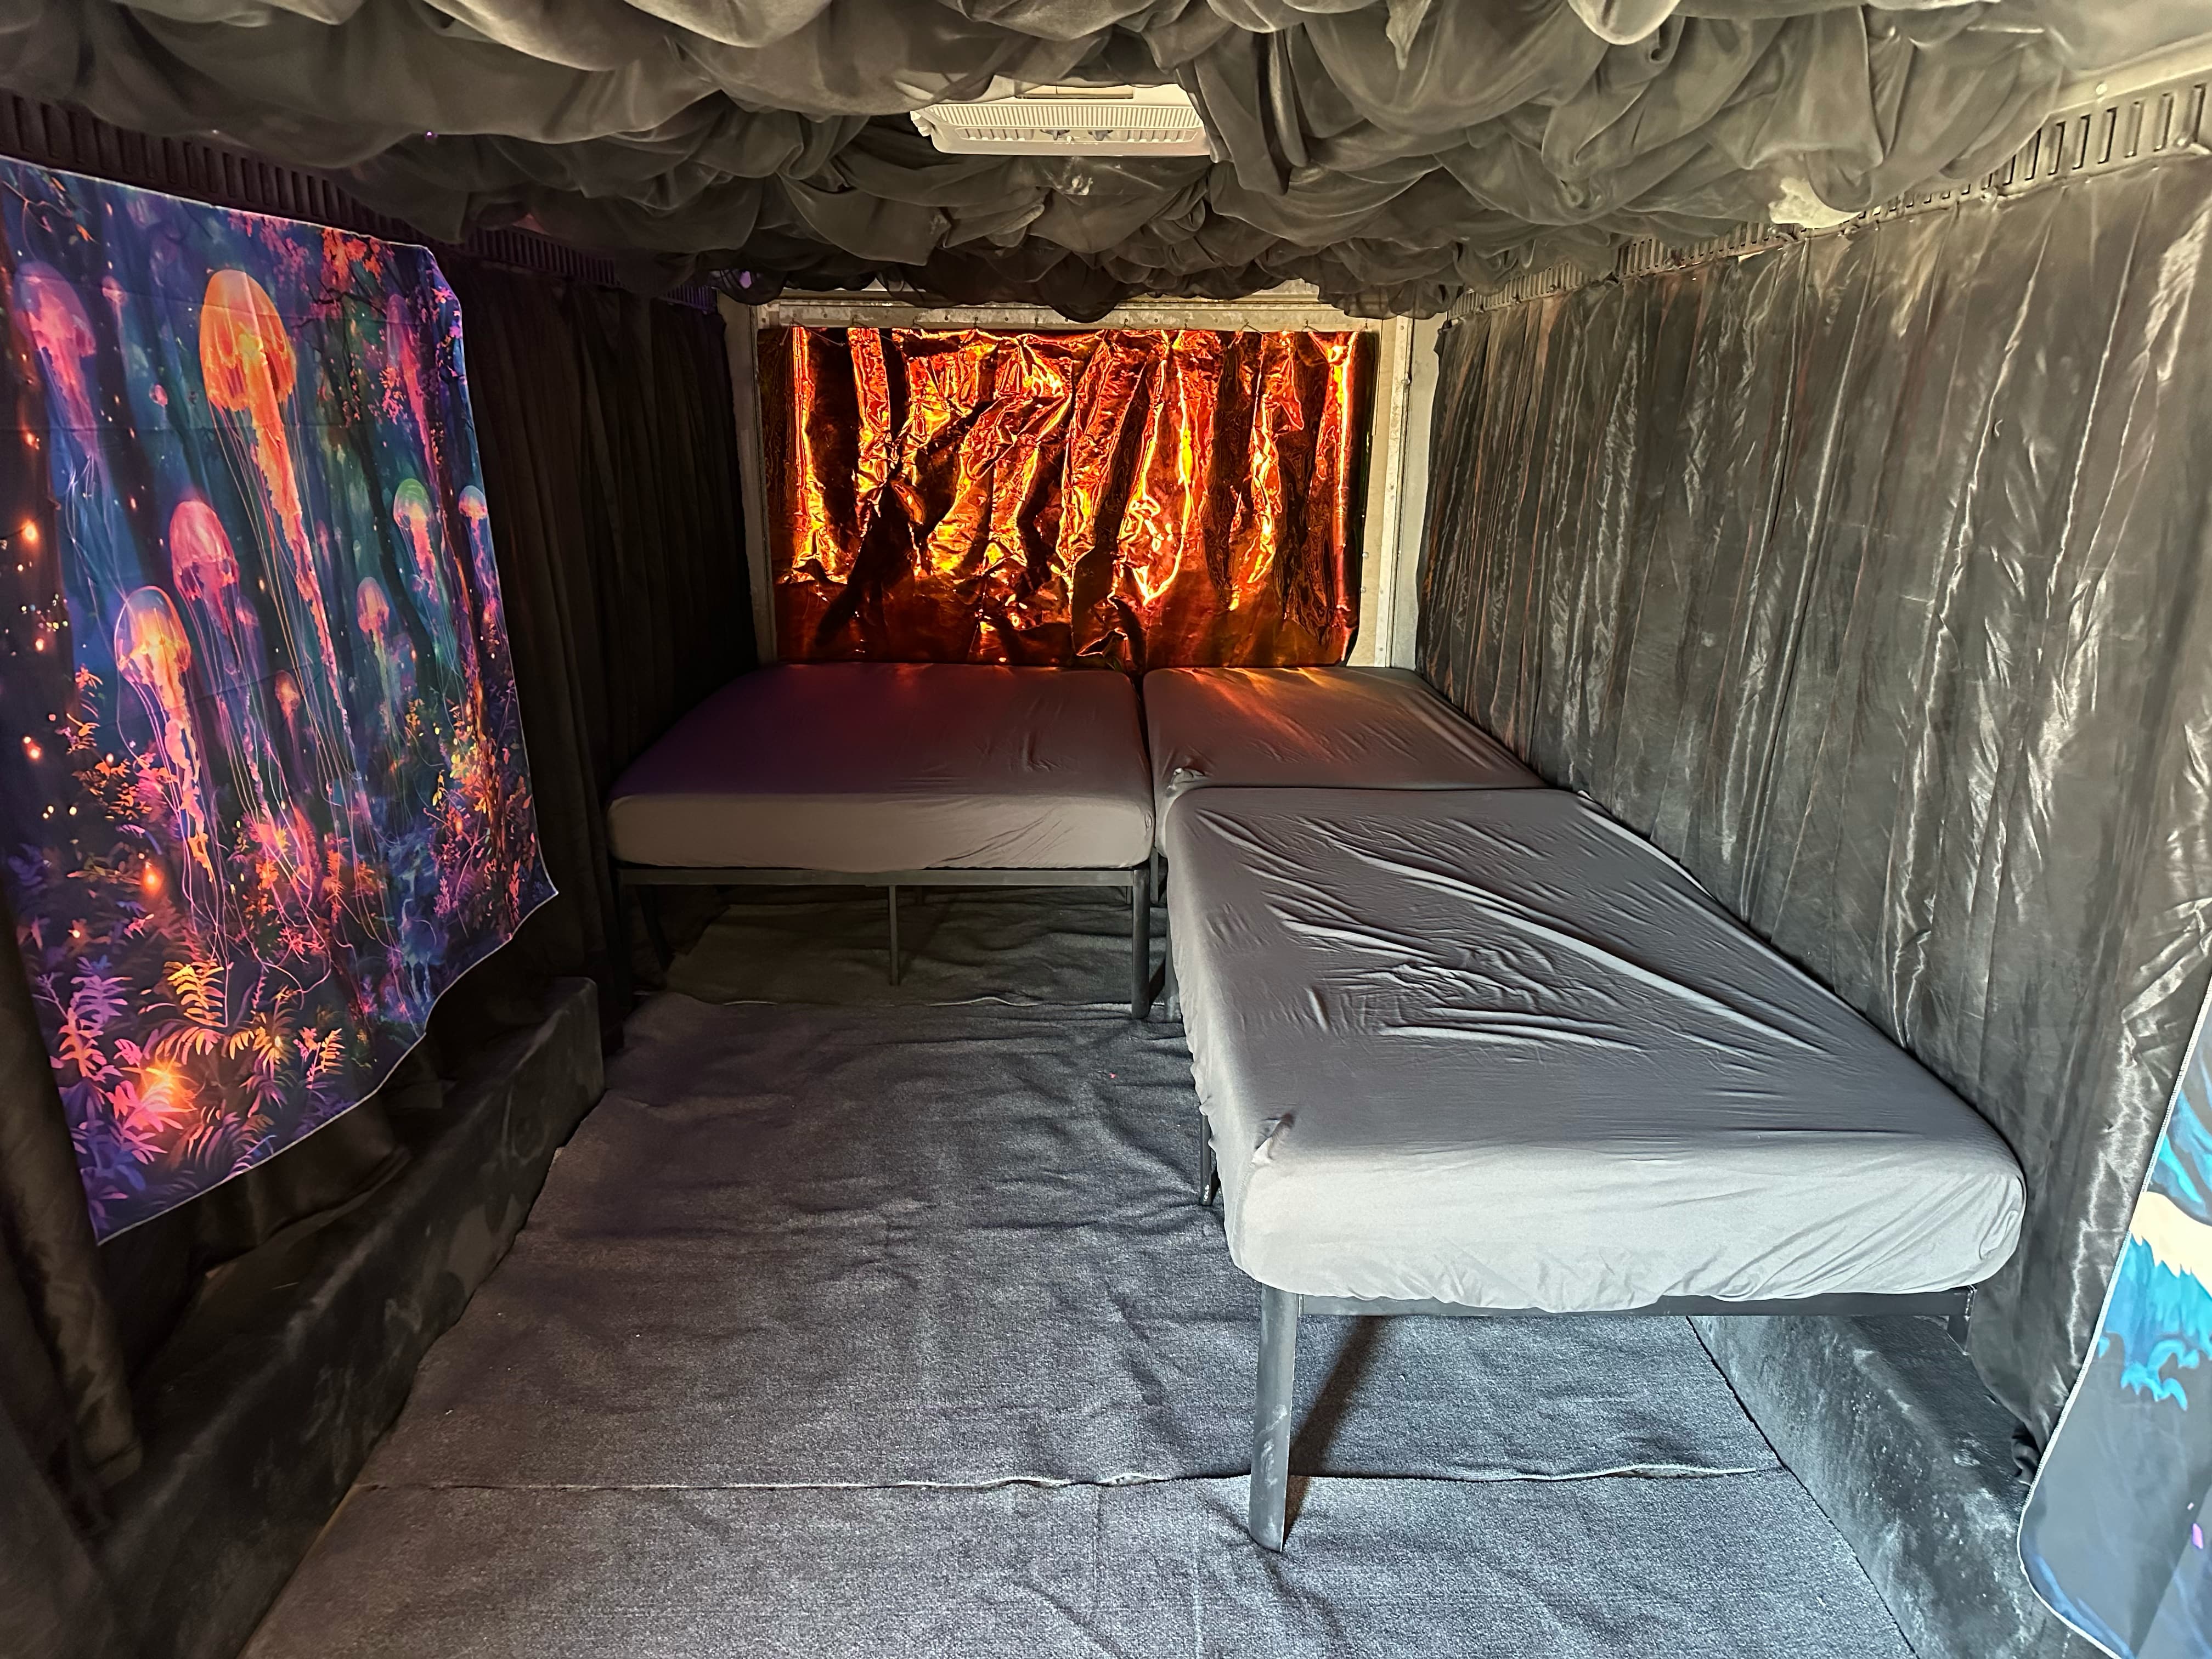
Decor
Stepoff 2.your shoes!
Step
Step
Step
Step 6.
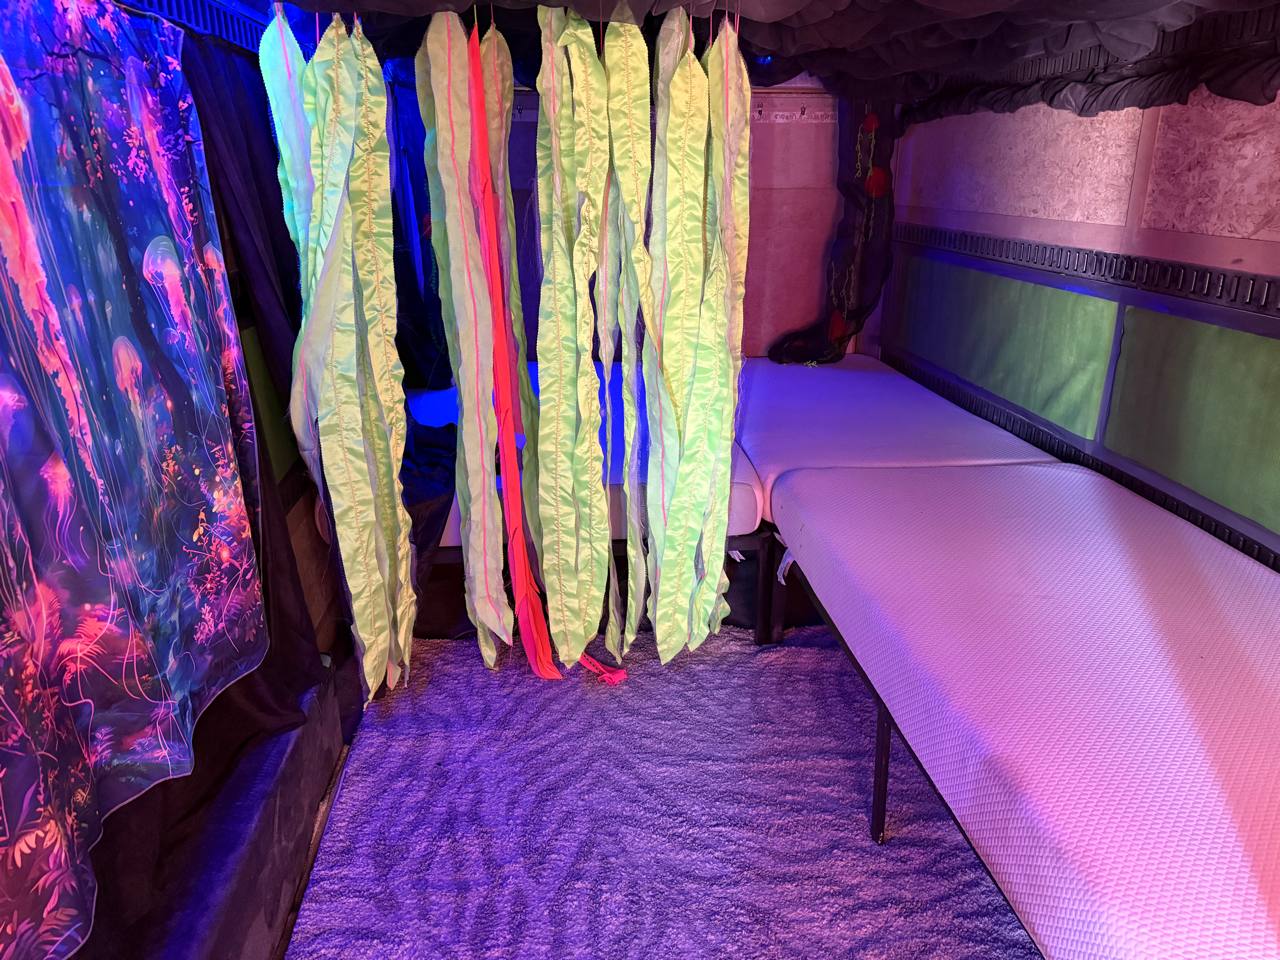
Step 7. Place the hanging decorations using the photos below as a guide. Look for foam 'circles' on the ceiling that have hooks for hanging.
Note: theThe 2 black mesh bags with round plastic orbs are placed in the back. It's possible to hang them using only two points, so that they hang higher. You might have to remove the foam 'cuff' from the ceiling in order to hook them in.

2-3 rectangular rugs. The rug patterns are stripey gray/white.
Step 8. Hang up the three medium sized black lights so that they are shooting ACROSS the trailer, on to one of the murals. There are extension cords going from the power outlets that should facilitate to this. Use a zip tie or a bungee to affix them to the top mounting rack. Try to keep the lights away from an power cord or other sensitive items, as they do get hot over time.
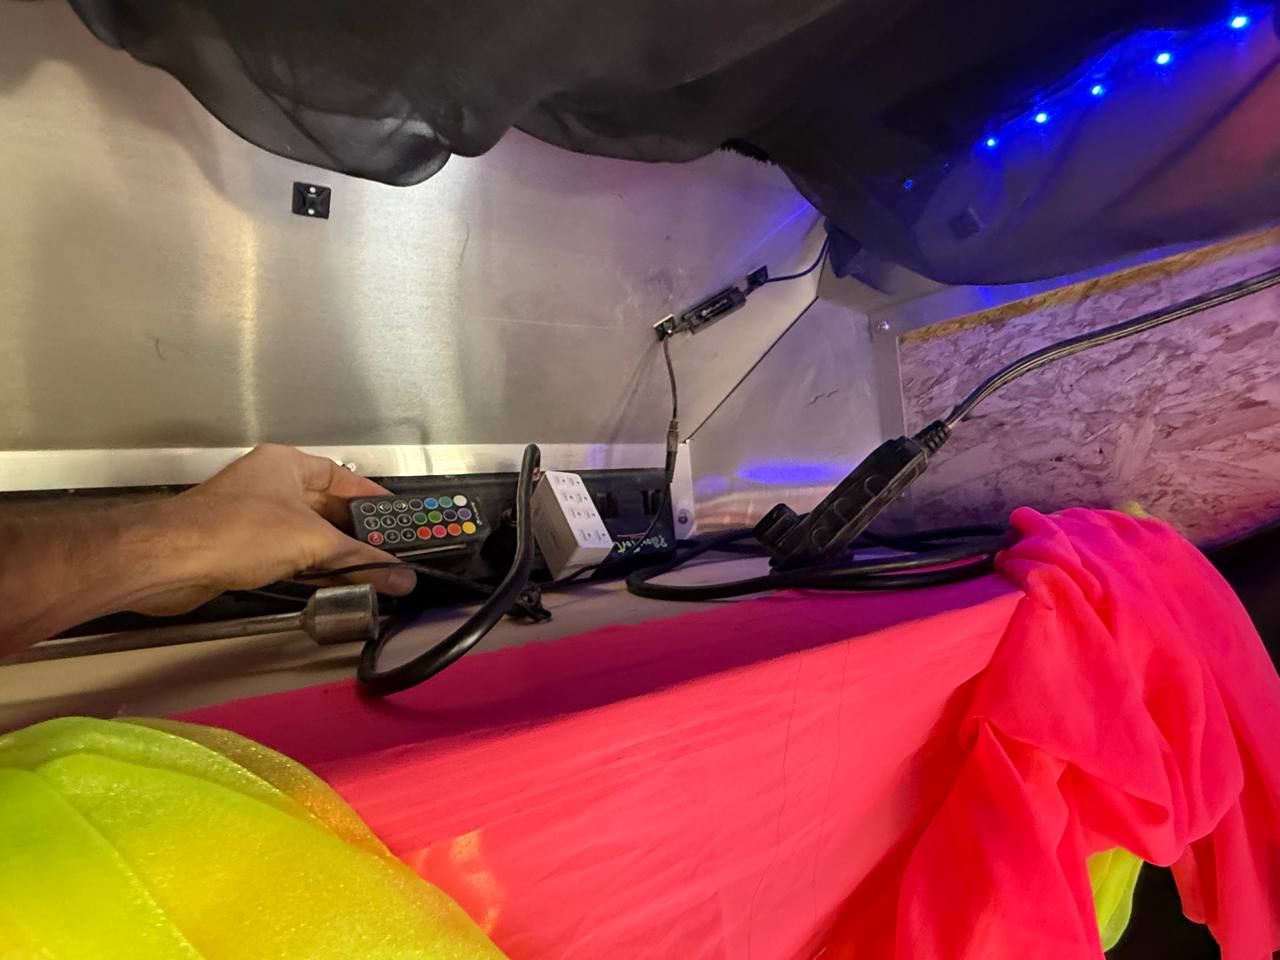
Step 9. Turn on the USB blacklights; their controllers are to the right of the 'work table'. They should be plugged in to the controller on the top of the 'work table'.
Step 10. Set up the 'work table' display. Place the pink sheet on top of the work table; it should be inside one of the chests. The items for the display should be in the build in storage near the front of the trailer. See below.
Step 11. Plug in the 'Turtle Egg' to the same USB port on top of the 'work table'. Position the base/projecter so that it projects on to one of the undersea murals for a 'wavy' effect. Optional: connect to the bluetooth and play some chill ambient music.
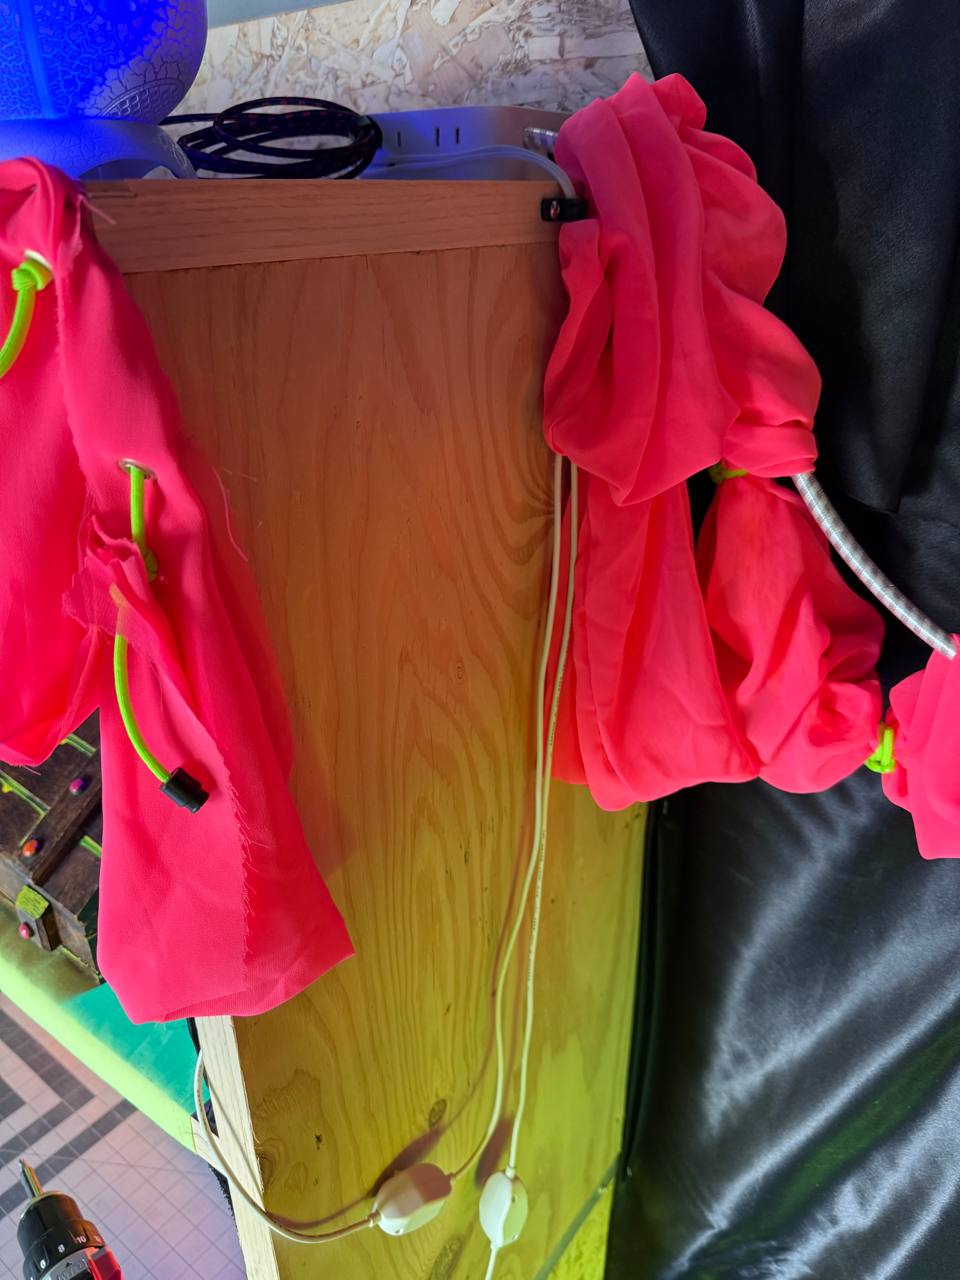
Step 12. Turn on the installed lights. One plug should be in the door and one near the 'work table'. Here is what the cables near the door look like. Feel free to select a color; we typically go with blue or violet.
Step 13. Turn on the A/C.
Congrats! You've set up the pillow fort and it is now ready for lounging. Invite others to nest when you decide to leave its cool embrace.