
Pillow Fort Set Up
Updated for Burning Man 2025.

The Pillow Fort is fairly easy to set up, and this guide will help you along the way!
Physical Setup
After the pillow fort has been dropped off, you need to stabilize the back corners so it doesn't tip backwards. There are stabilizing jacks located inside the passenger door on the right. Install two of them under the rear corners. Important: They should be positioned so as to provide support to the main, load-bearing steel frame of the trailer.

Stabilizing Jack Installation Instructions
The long bolt in the center of the jack stand is threaded; At the top of the jack stand is a large nut that fits into a pocket to keep it from turning; The center bolt raises and lowers by turning the long bolt with the T-handle, either clockwise or counter-clockwise; Place under a section of sub frame close to the corners. The manufacturer recommends using wood or concrete blocks under jacks.
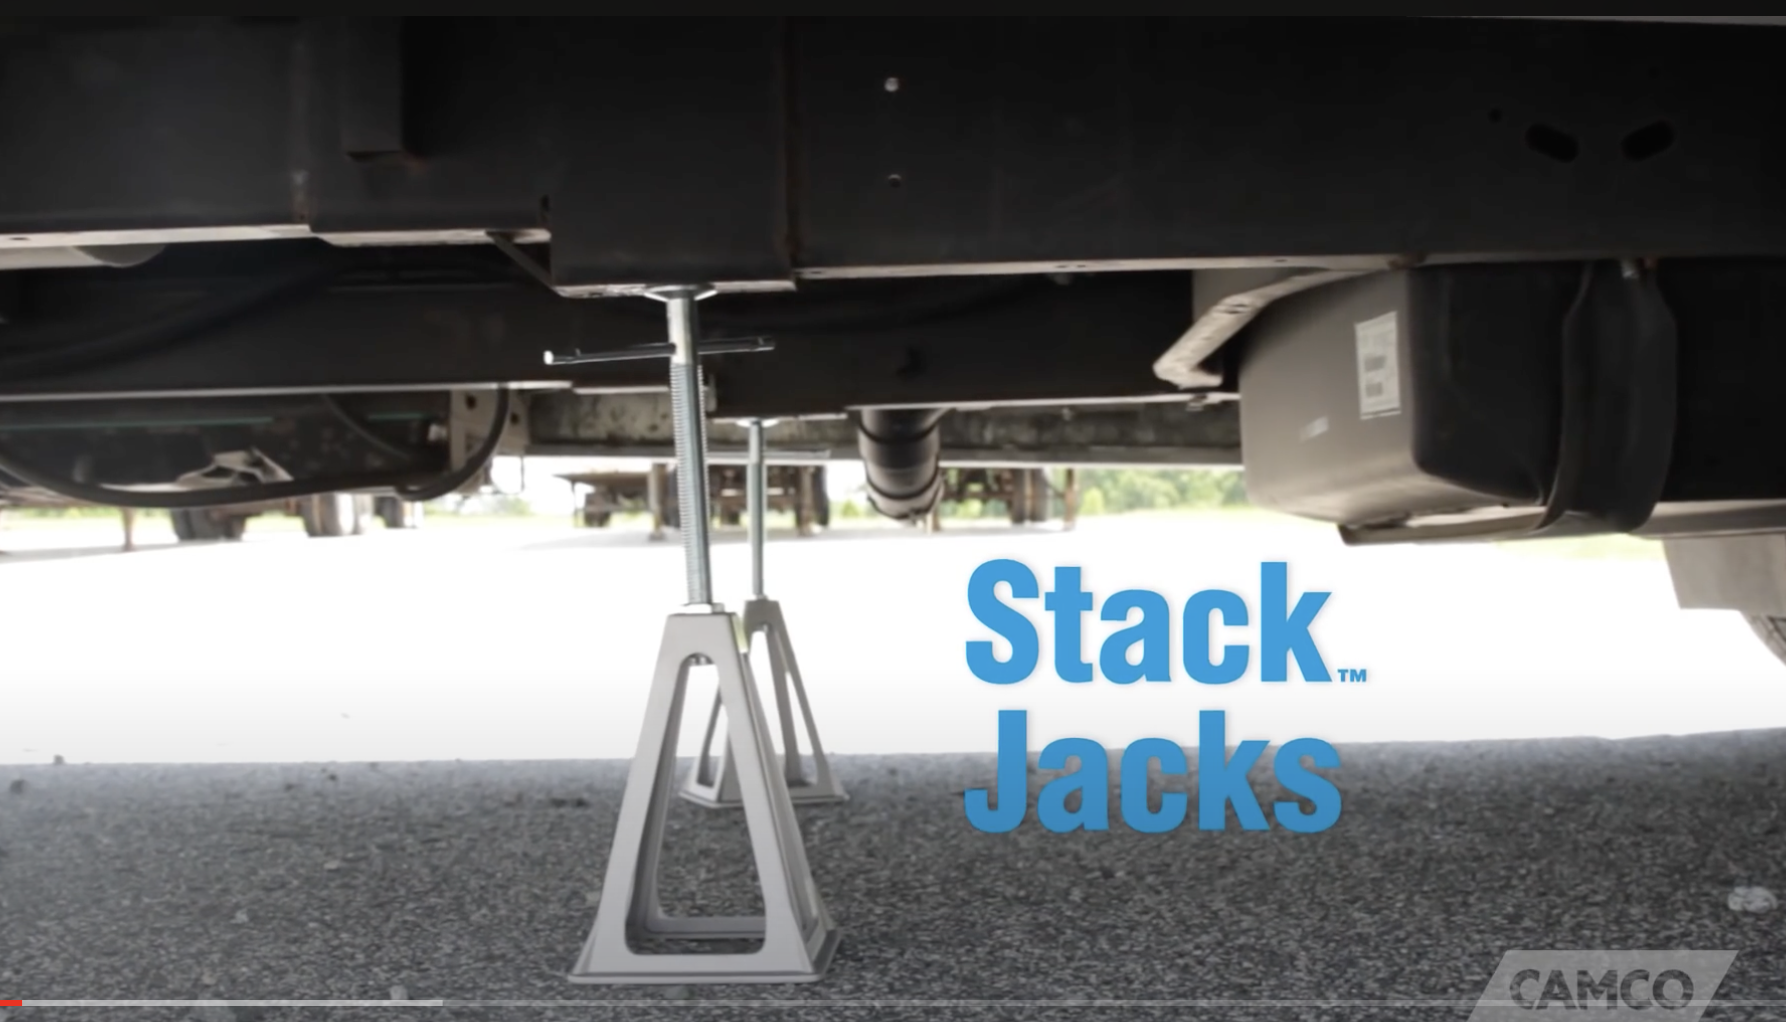
They are not strong enough to support the weight of the trailer, so don’t jack them so far that they are pushing the trailer up in the air. They are only intended to keep the trailer from tipping back when people walk to the back, and to keep the trailer from rocking back and forth.
Warning: If you install the jacks when the trailer is empty, and try to remove them when the trailer is loaded, you will find that the added weight pressing down on the jacks makes it extremely difficult to remove them. You should install the jacks immediately on delivery when the trailer is at its maximum weight so they will be easy to remove.
The infrastructure team will provide power to the trailer by connecting the NEMA SS2-50P plug, located on the front exterior, to a spider box.
The pillow fort contains gear that goes elsewhere in camp such as audio and lighting equipment, and some gear that will not end up being used on playa but needs to be stored someplace sheltered. Before you empty the pillow fort, you will probably want to set up a tent where this equipment can be move and stored during build week.
- Empty most items from the trailer, including bed frames. Any items that are intended for the pillow fort should already be on the bench in front; those can stay inside
- Sweep out moop
- Run A/Cs full blast to get dust out
- Tape up a hammock filter over inlets of each AC
- Run the leaf blower from front to back to get out any remaining dust.
- Close the back door
Decor
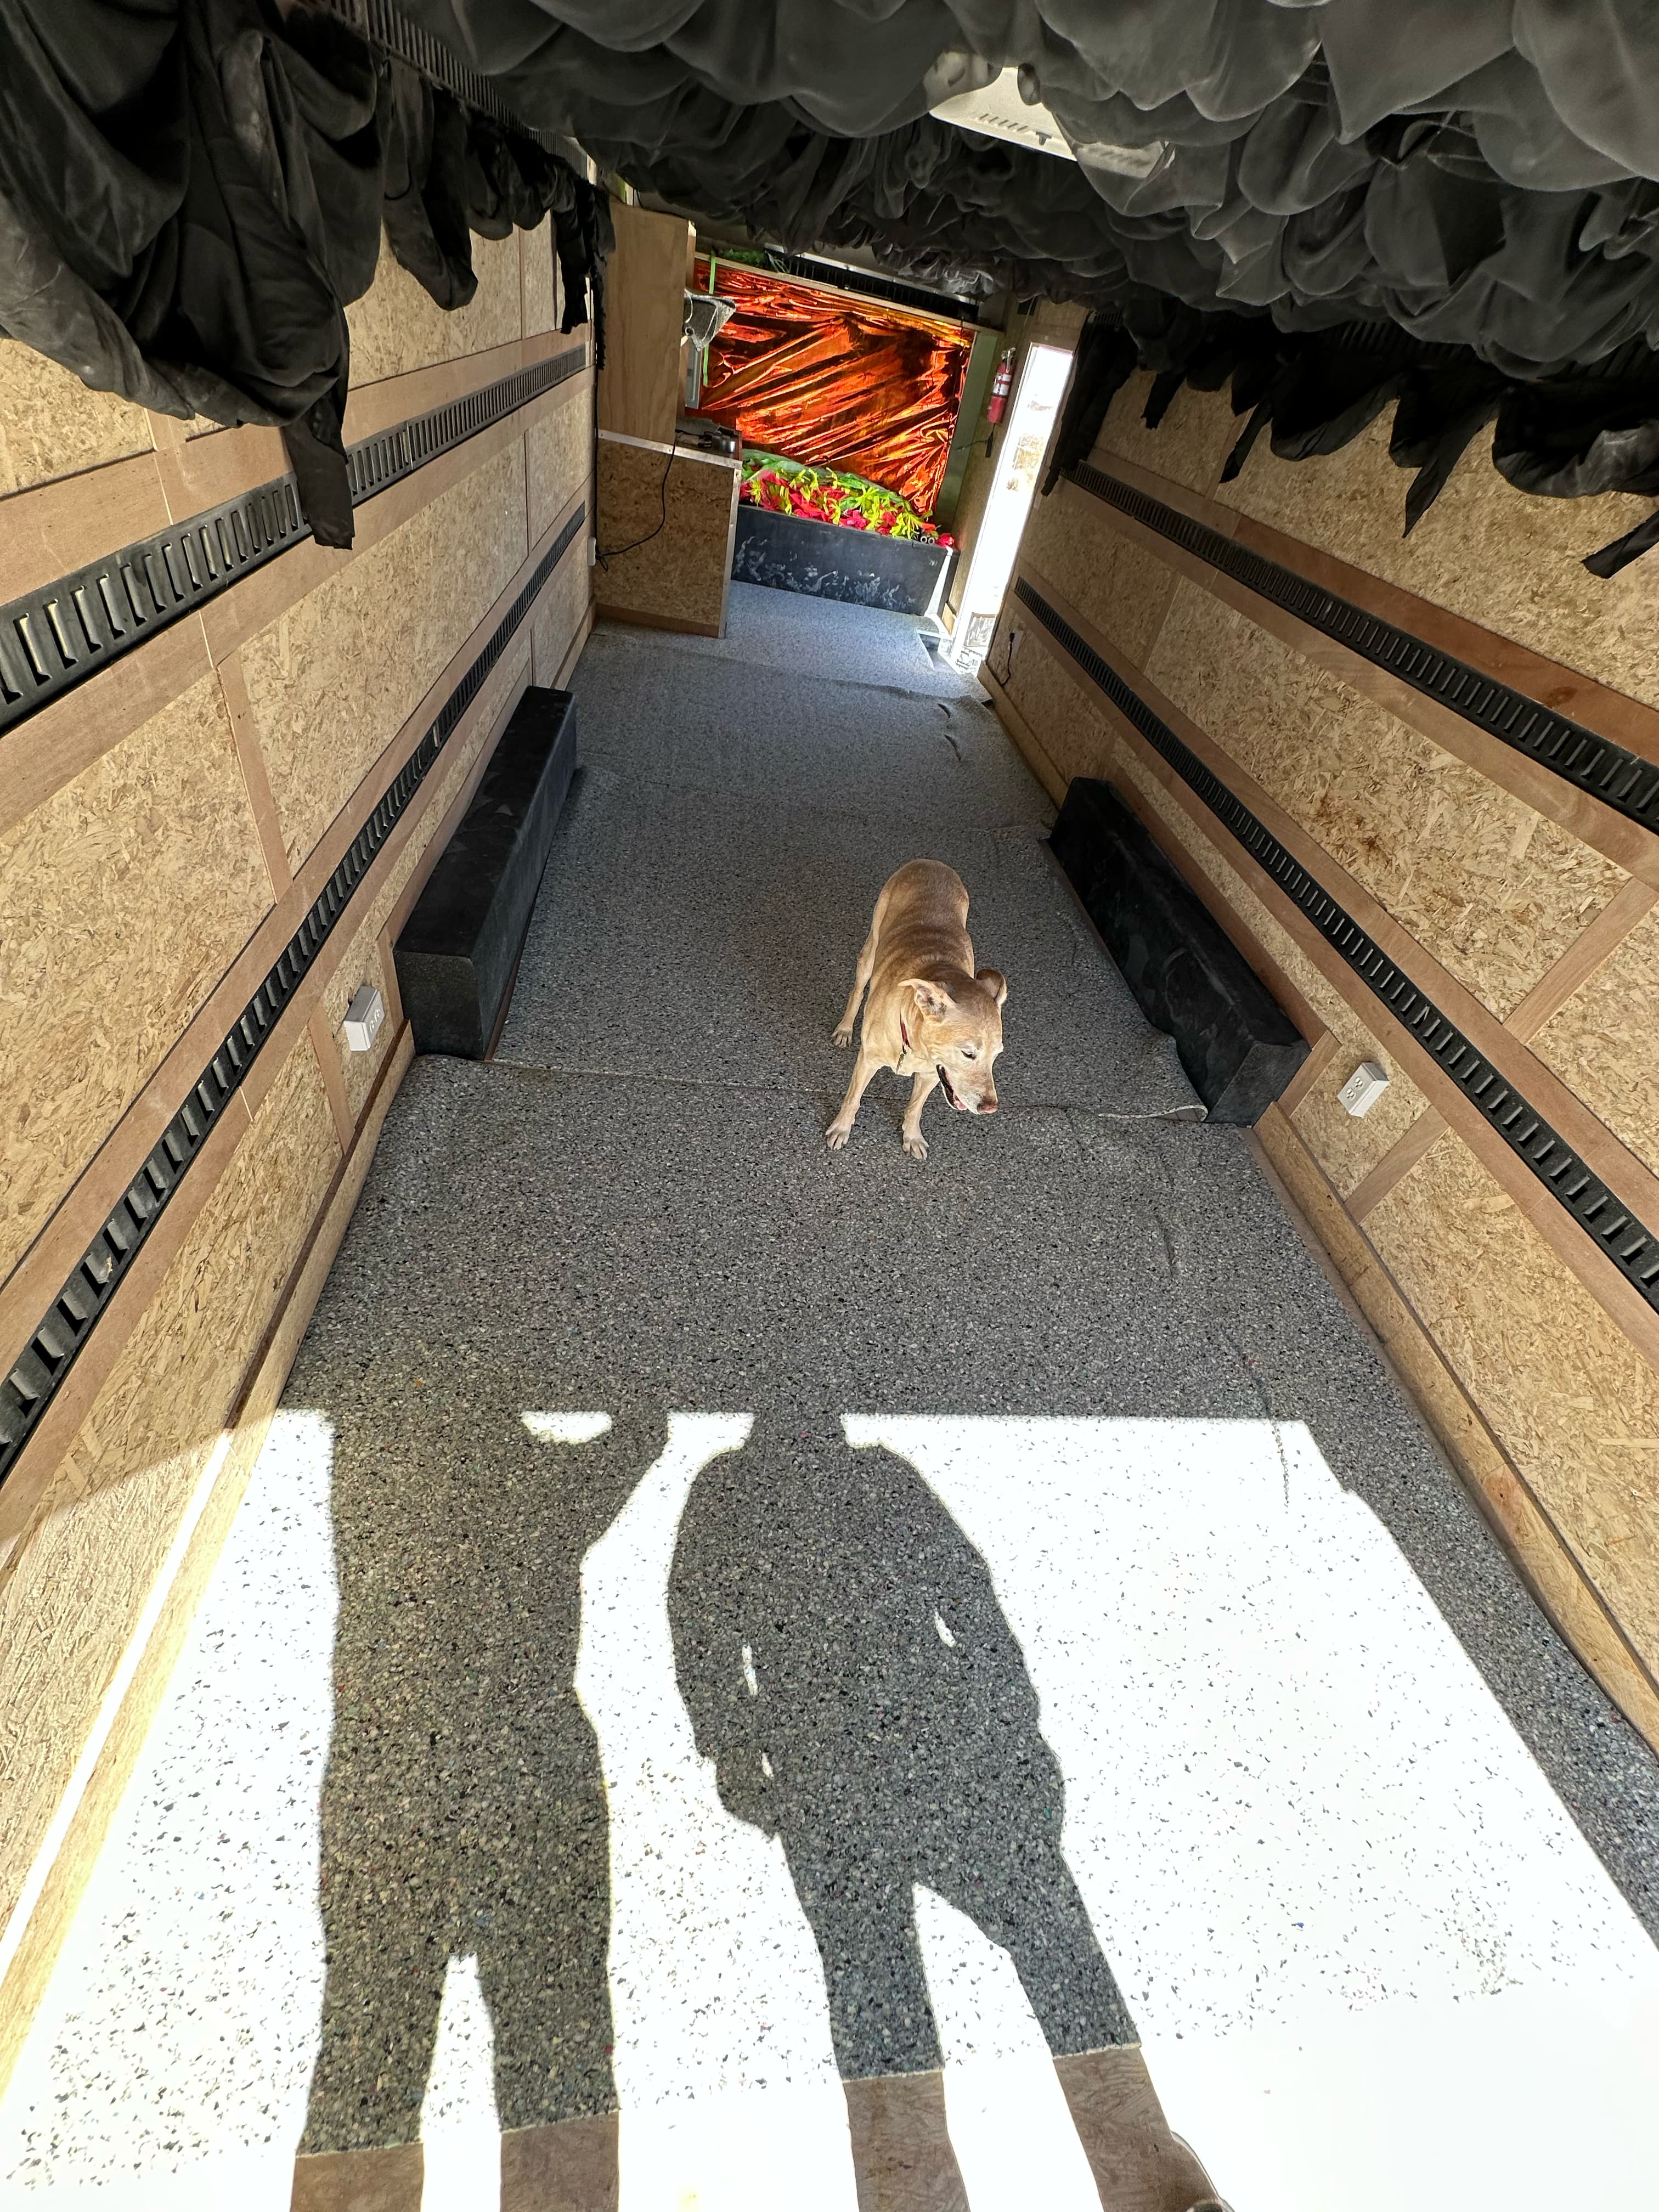
- Take off your shoes! from this point forward the pillow fort should be a shoe- and dust-free zone.
- Unfold and place the floor padding. The pieces are numbered; start with the H-shaped piece 1 in front. The padding will not go all the way to the back. Make sure the side with the fine plastic mesh faces down. Dog for scale.
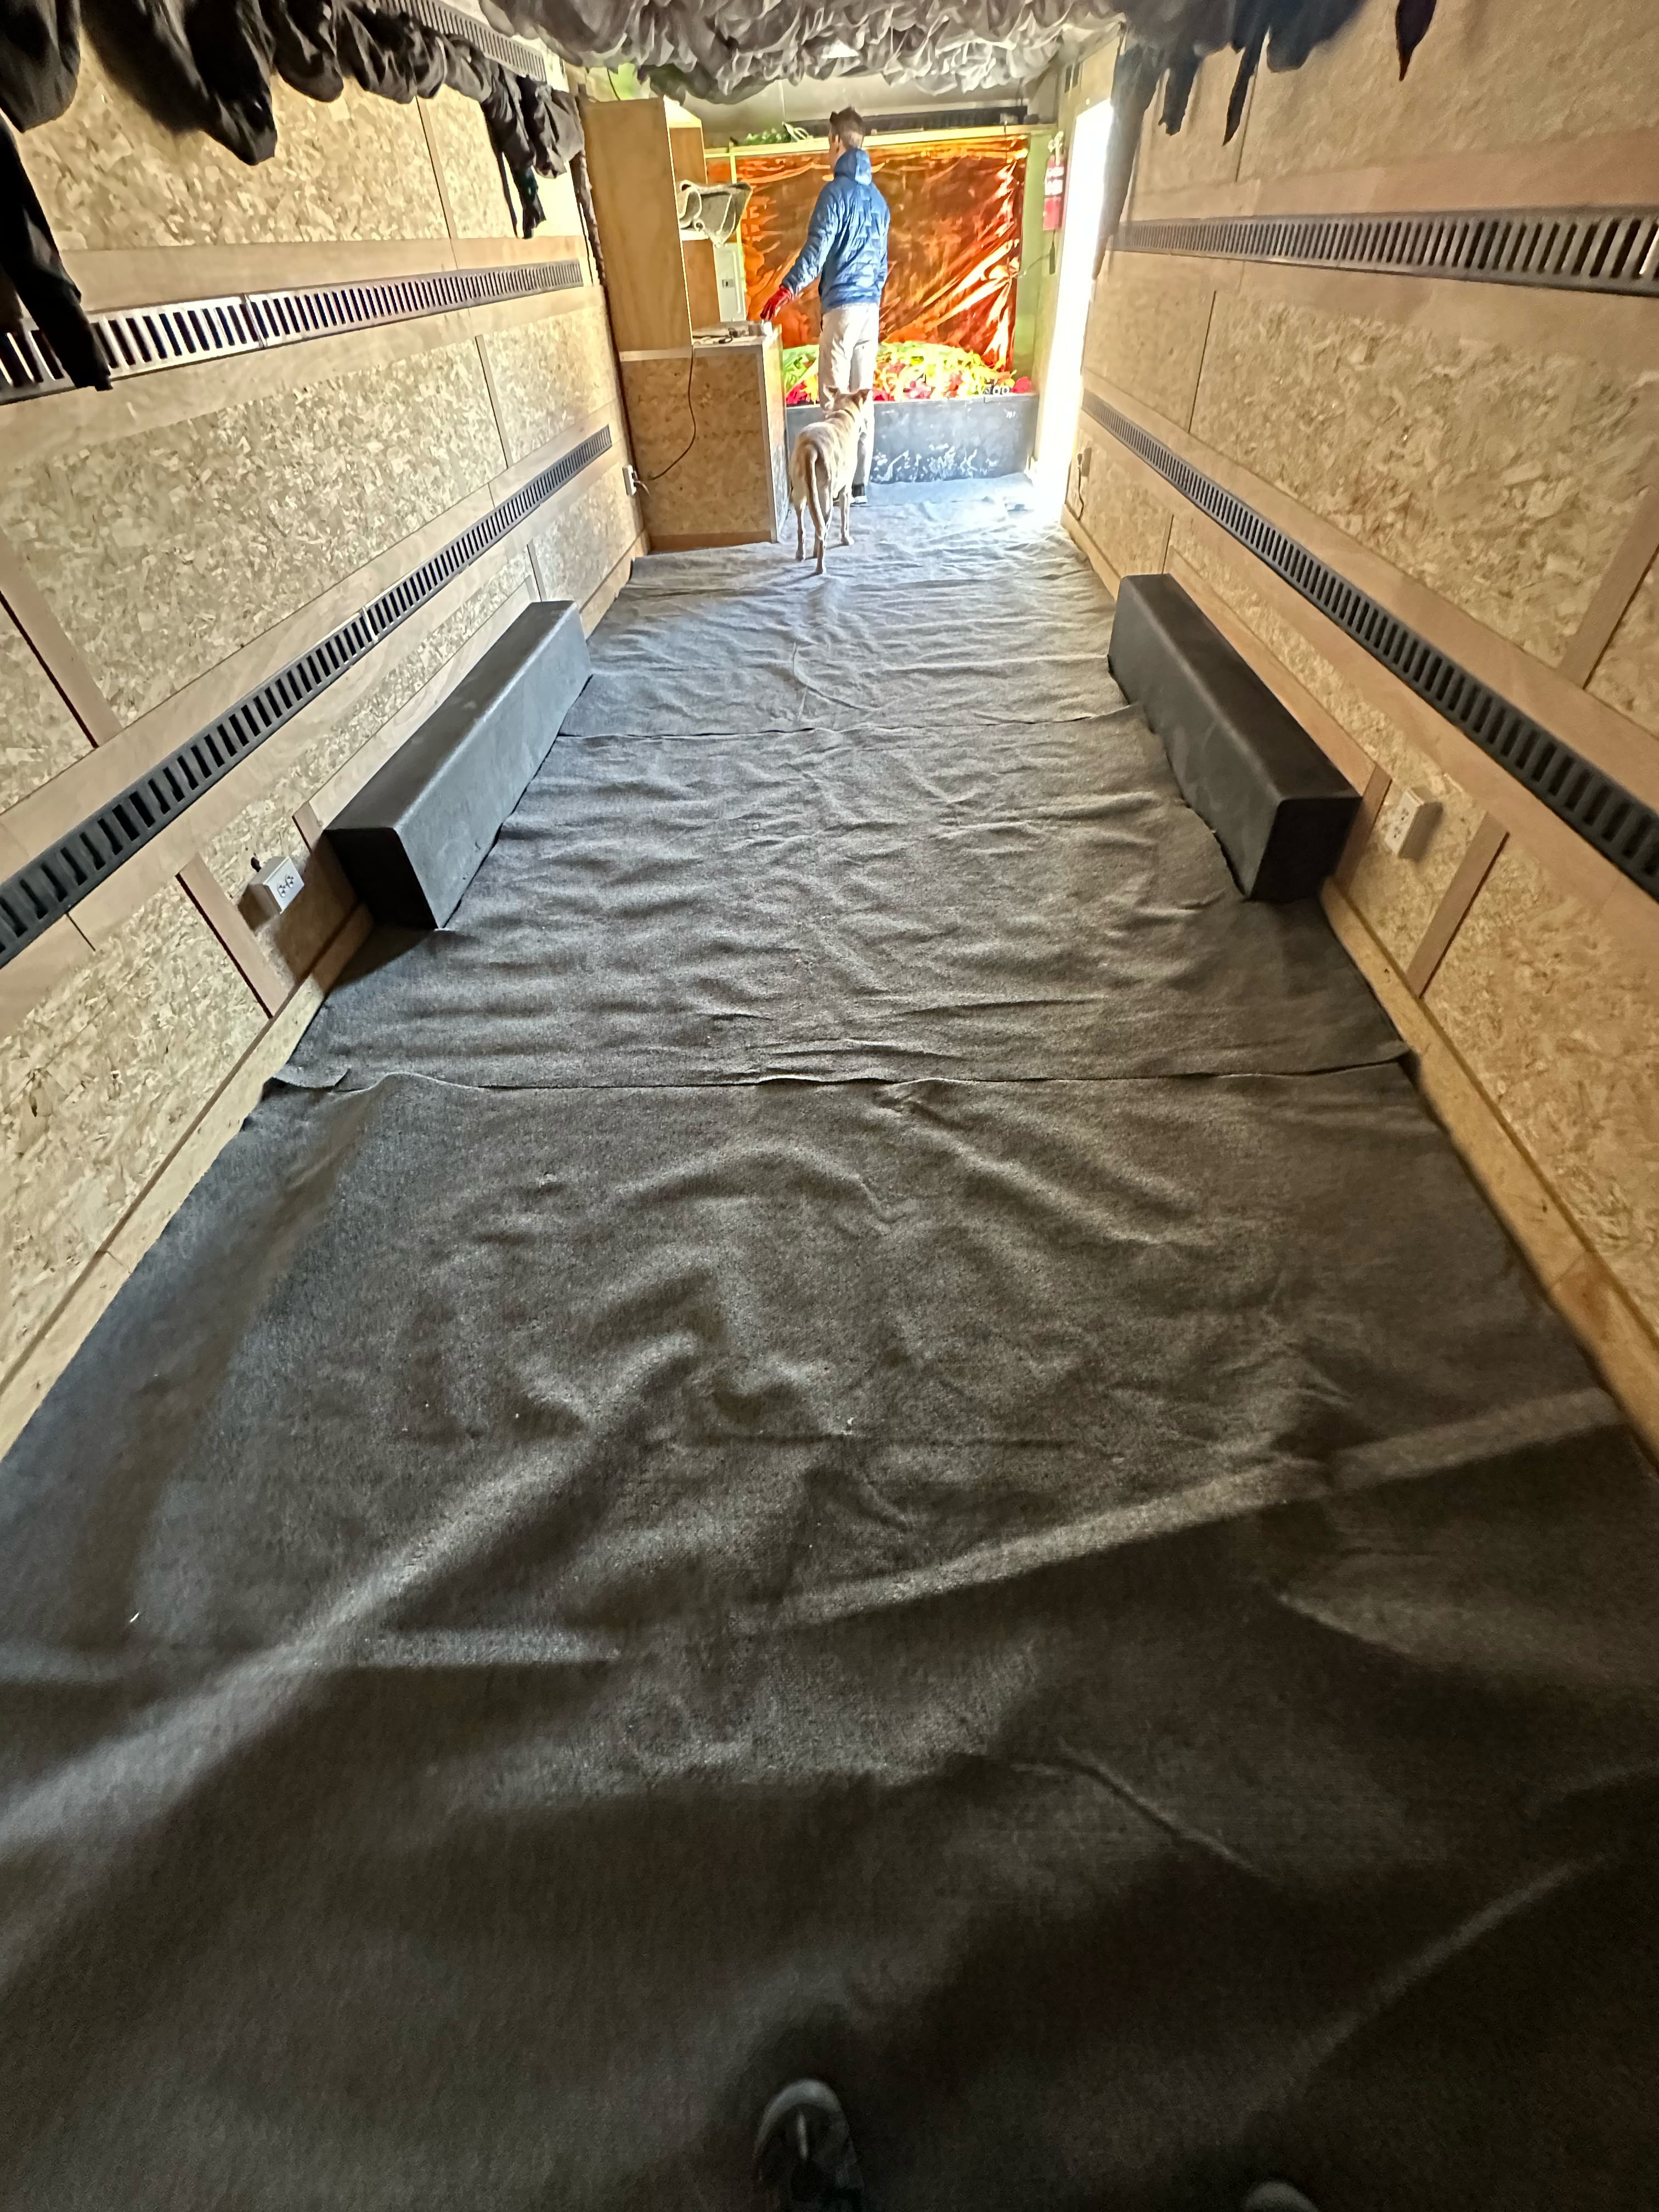
- Unfold the shaped carpet. It is similarly tailored.
- Unroll the multicolored shimmery fabric, and hang it in the back by zigzagging the string through the D-hooks provided.
- Place the bed frames and mattresses. Notice one bed frame has a short leg where it sits on the wheel well.

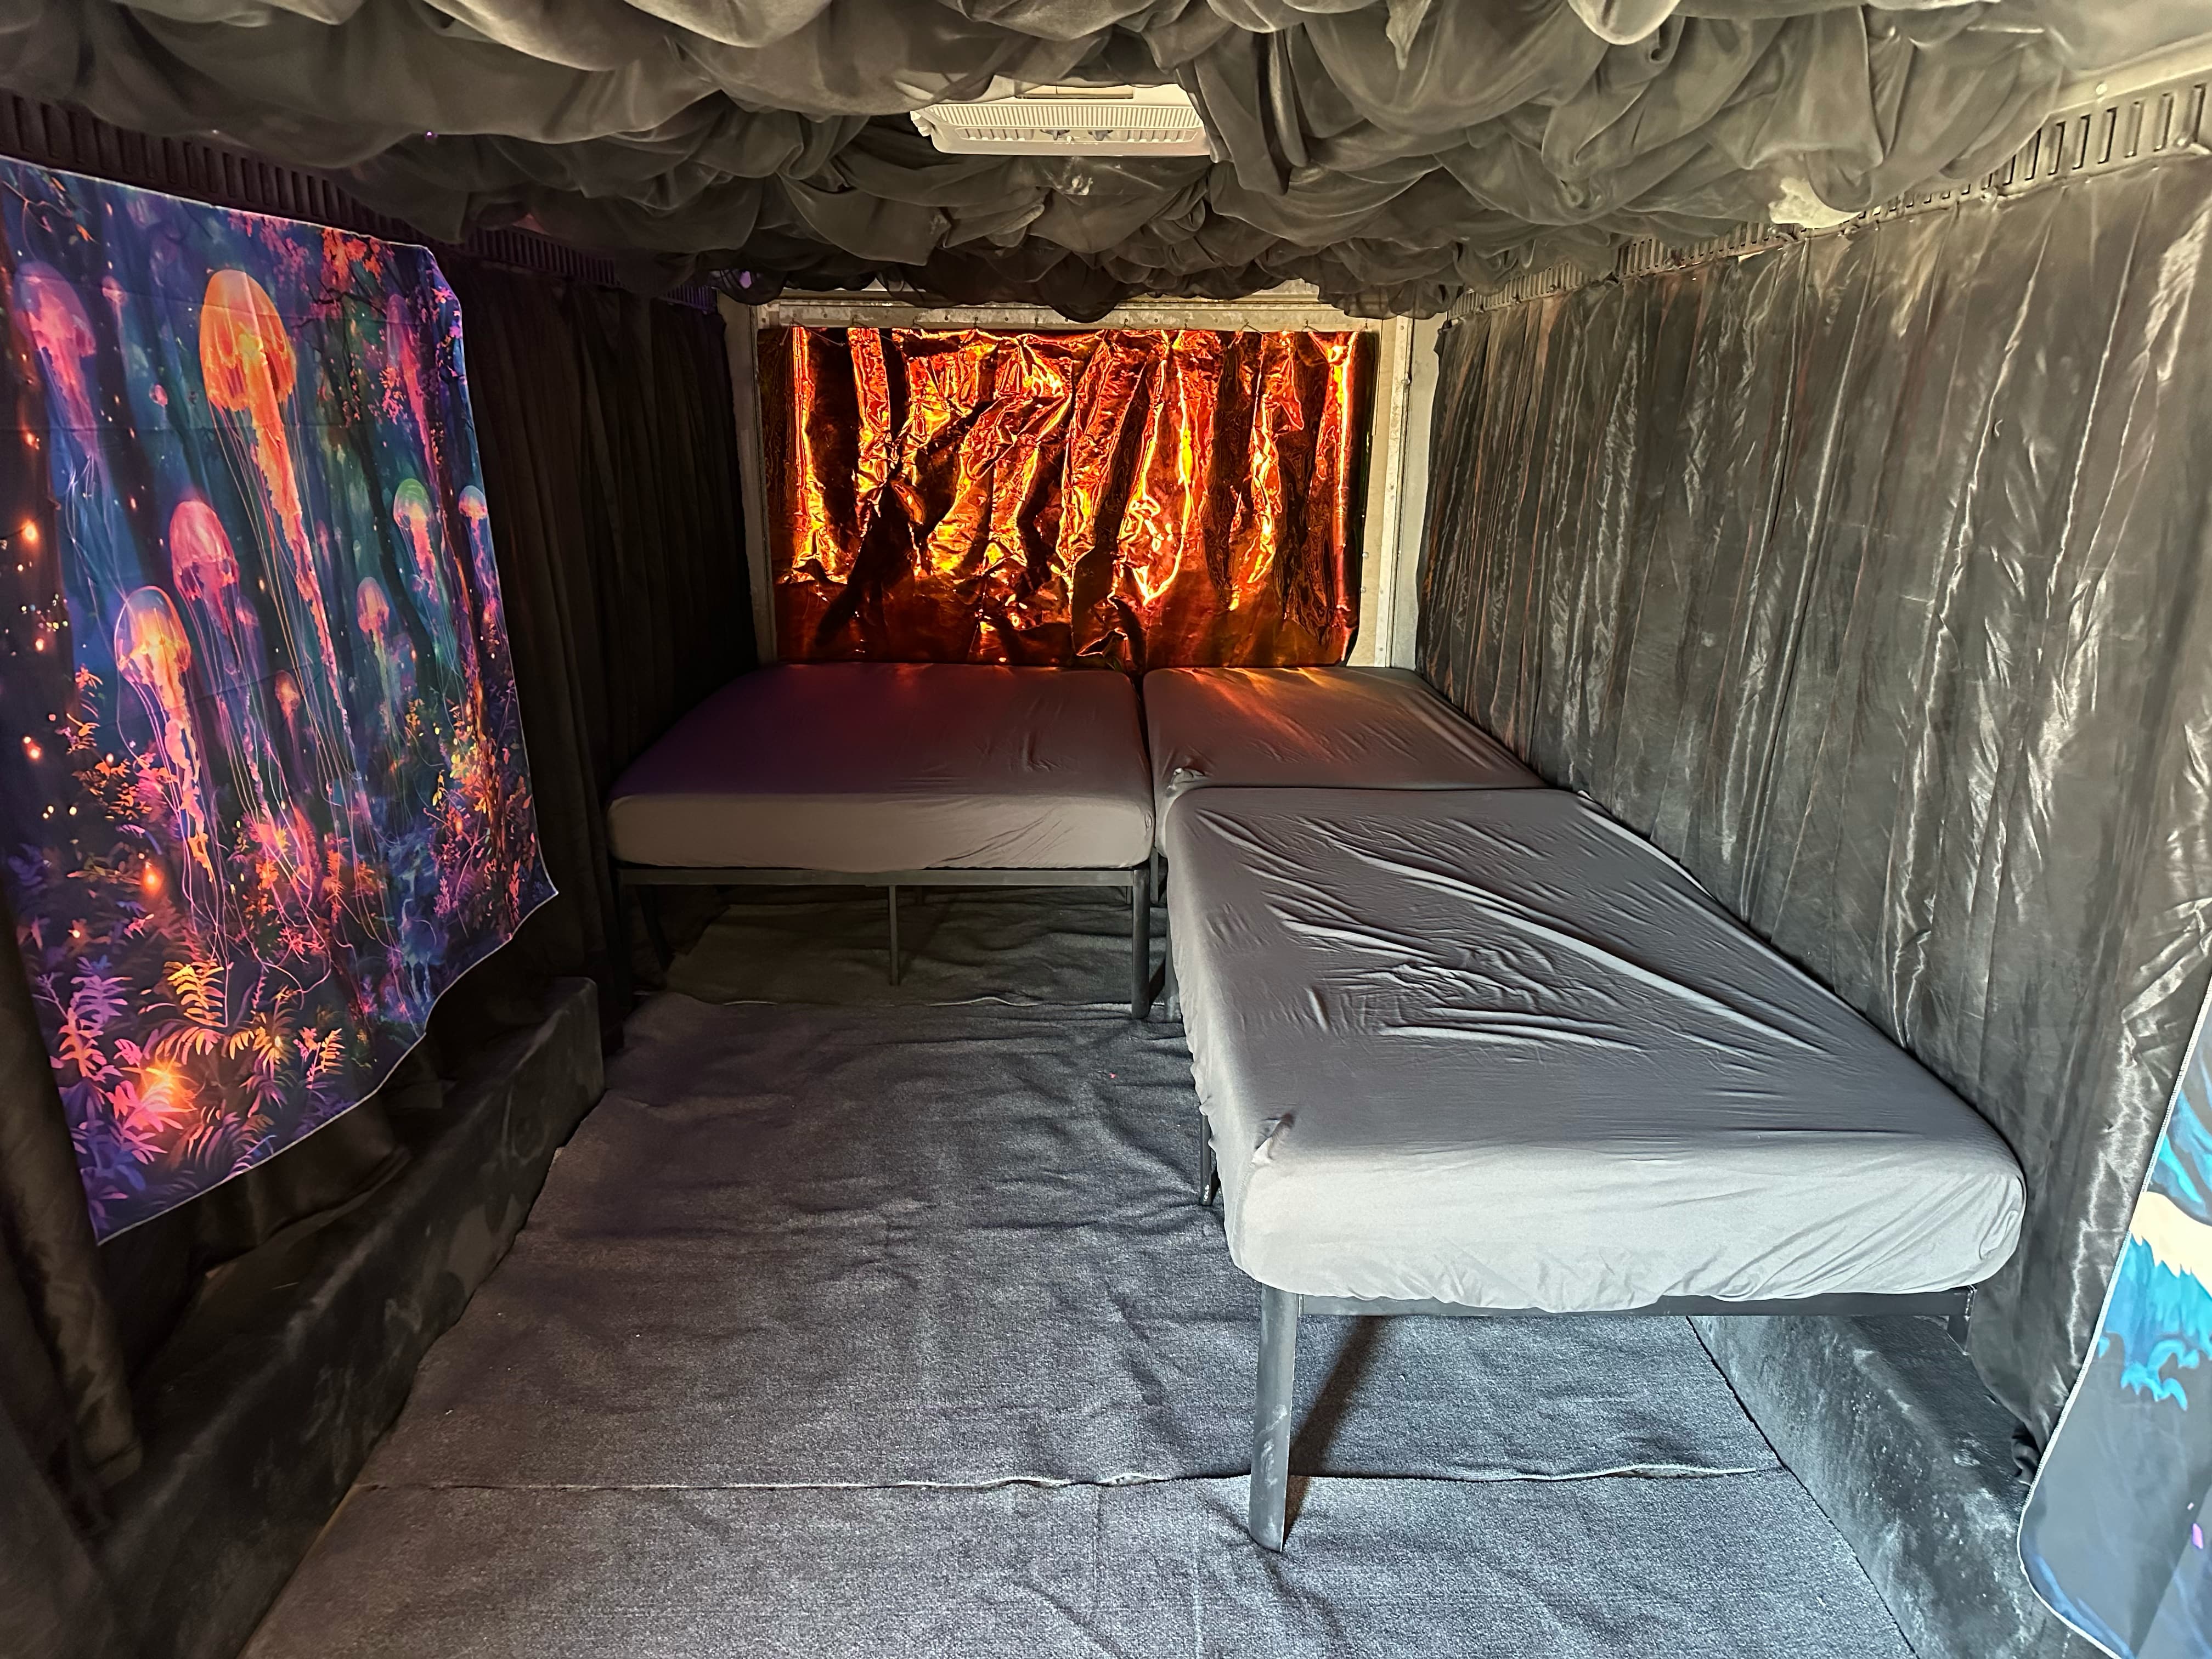
- Roll down the wall decorations. Try to keep the bungees attached to the metal mounting grates if they are already looped through them - the staples are not a great way to affix them.
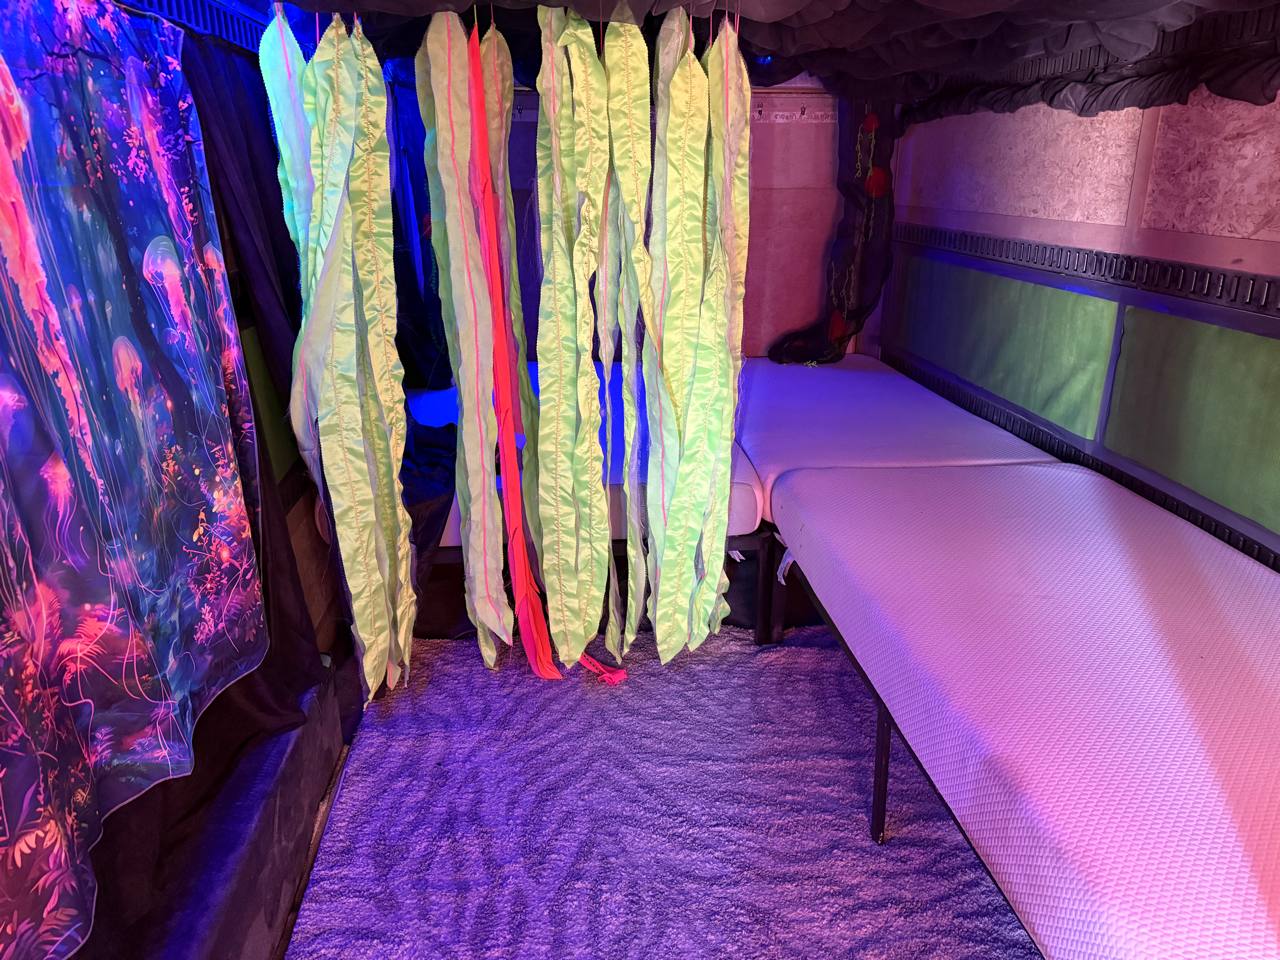
- Find the large black plastic tub with the hanging decorations and lights. Place the hanging decorations using the photos below as a guide. Look for felt 'circles' on the ceiling that have hooks for hanging. The hooks are surrounding the ceiling LED loops: the marine decor should hang from the four hooks that are screwed through the LED loops.
Be careful with the felt baffles hanging under/around the LED loops, these are installed in additional hooks around the LED loops. If the felt baffles fall off they can be reassembled and installed, but be careful to not bend/rip them.
The 2 black mesh bags with round plastic orbs are placed in the back. It's possible to hang them using only two points, so that they hang higher. You might have to temporarily remove the foam 'cuff' from the ceiling in order to hook them in.

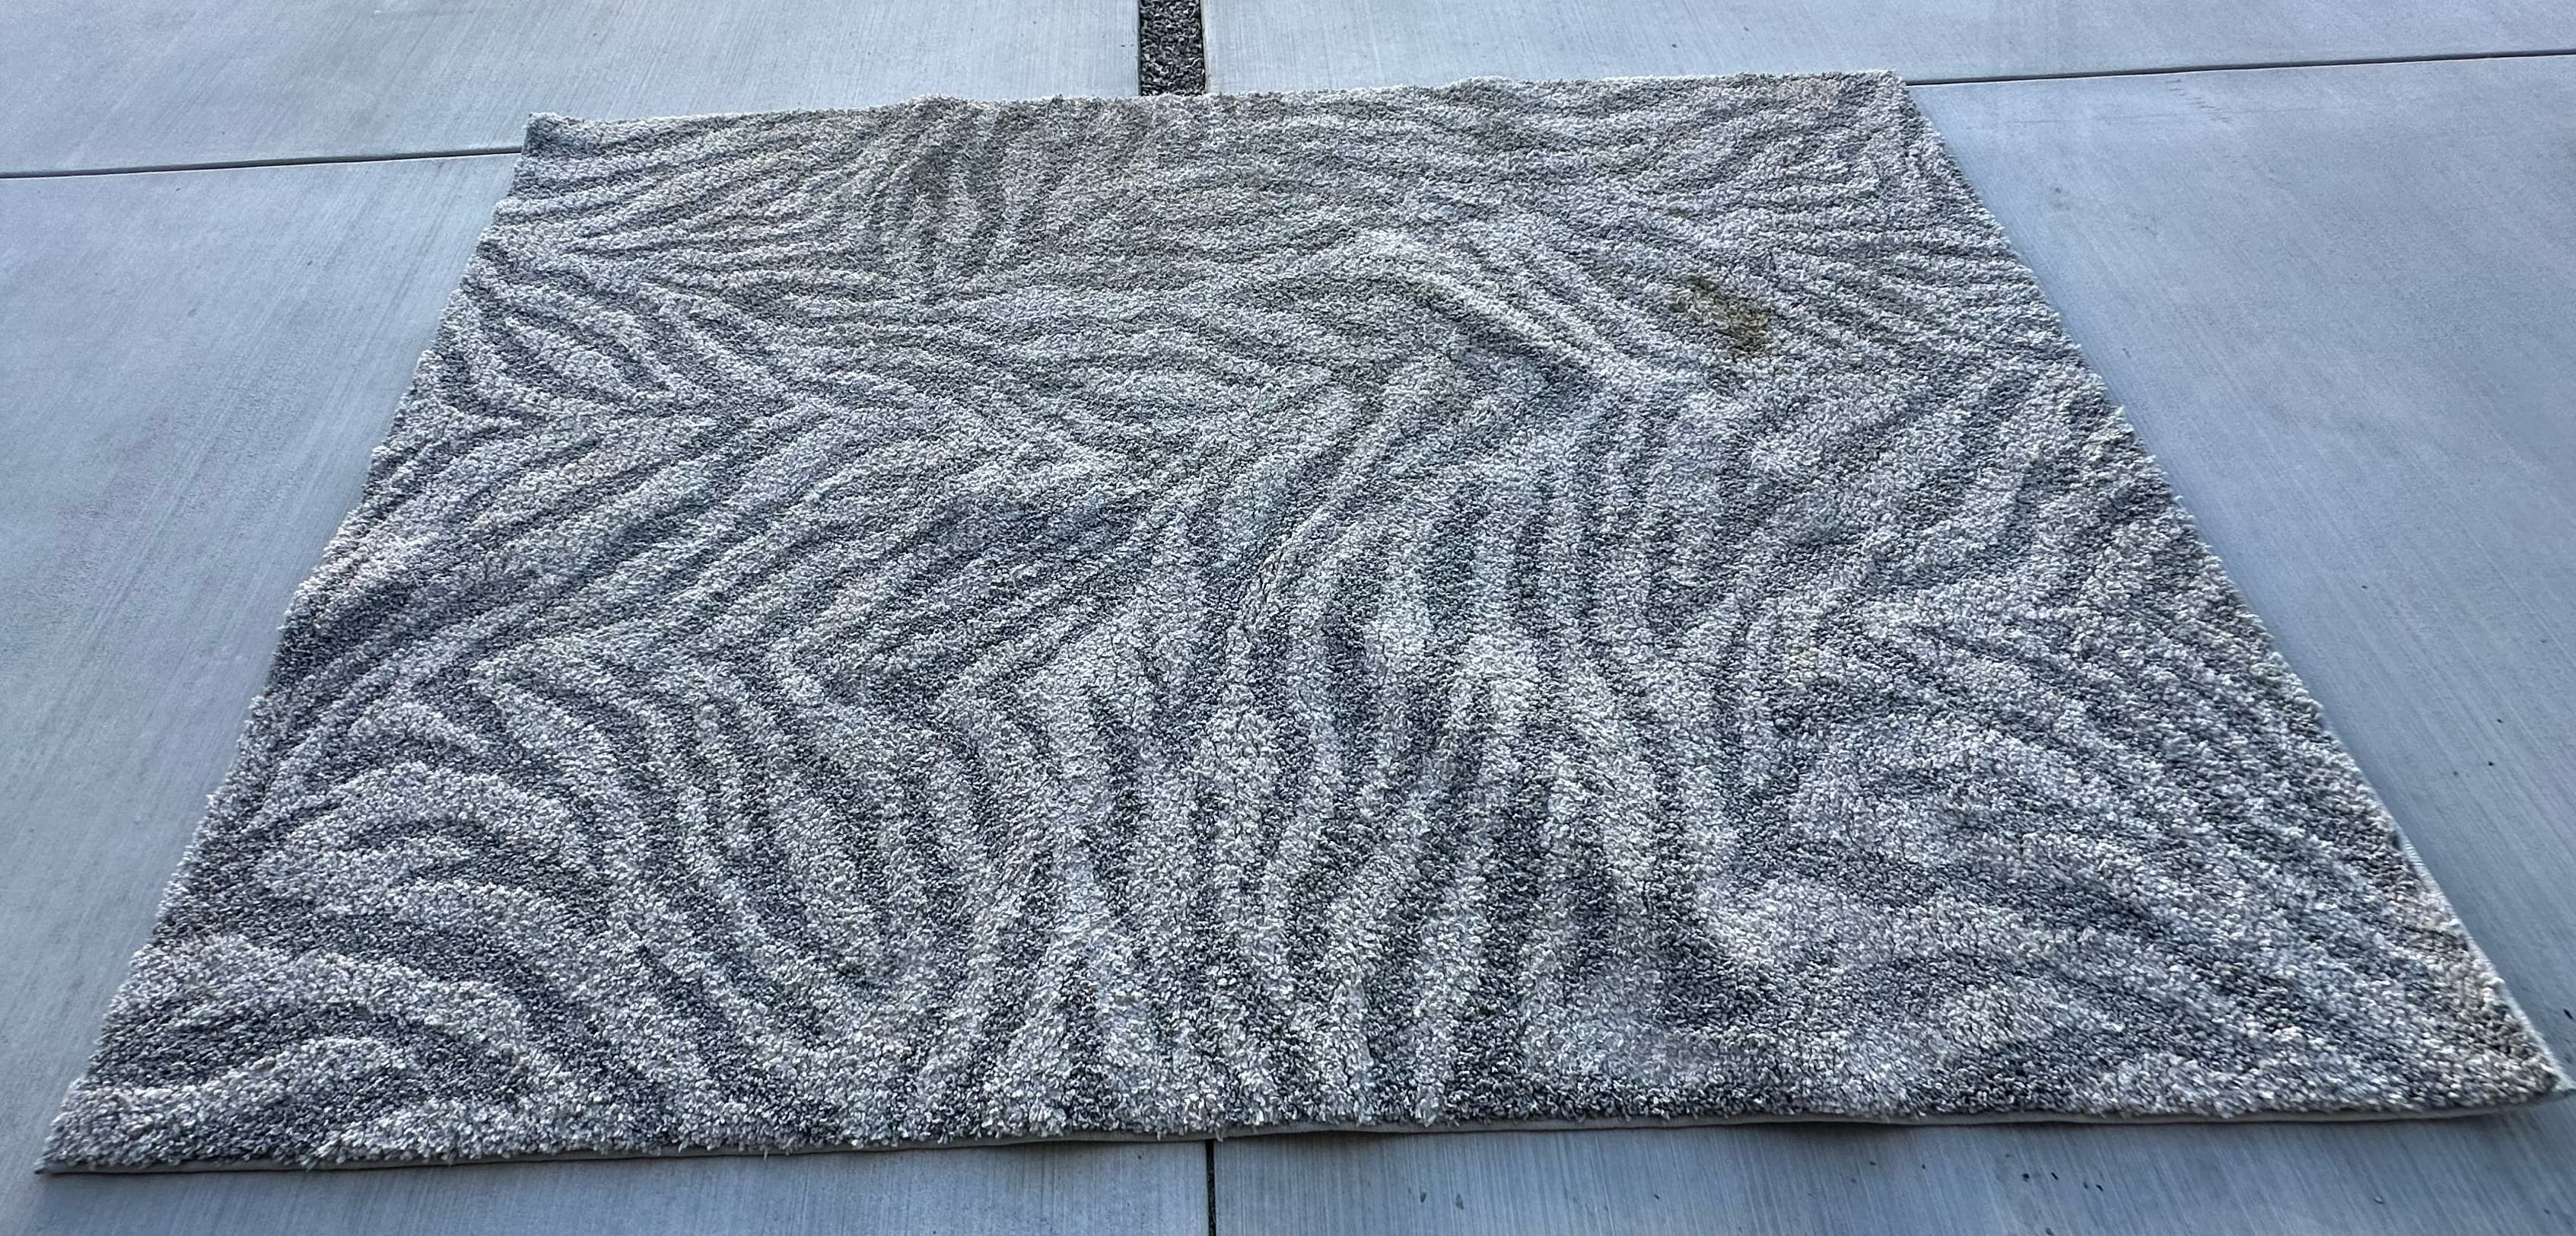
- Roll out three rectangular shag rugs. One looks like this:
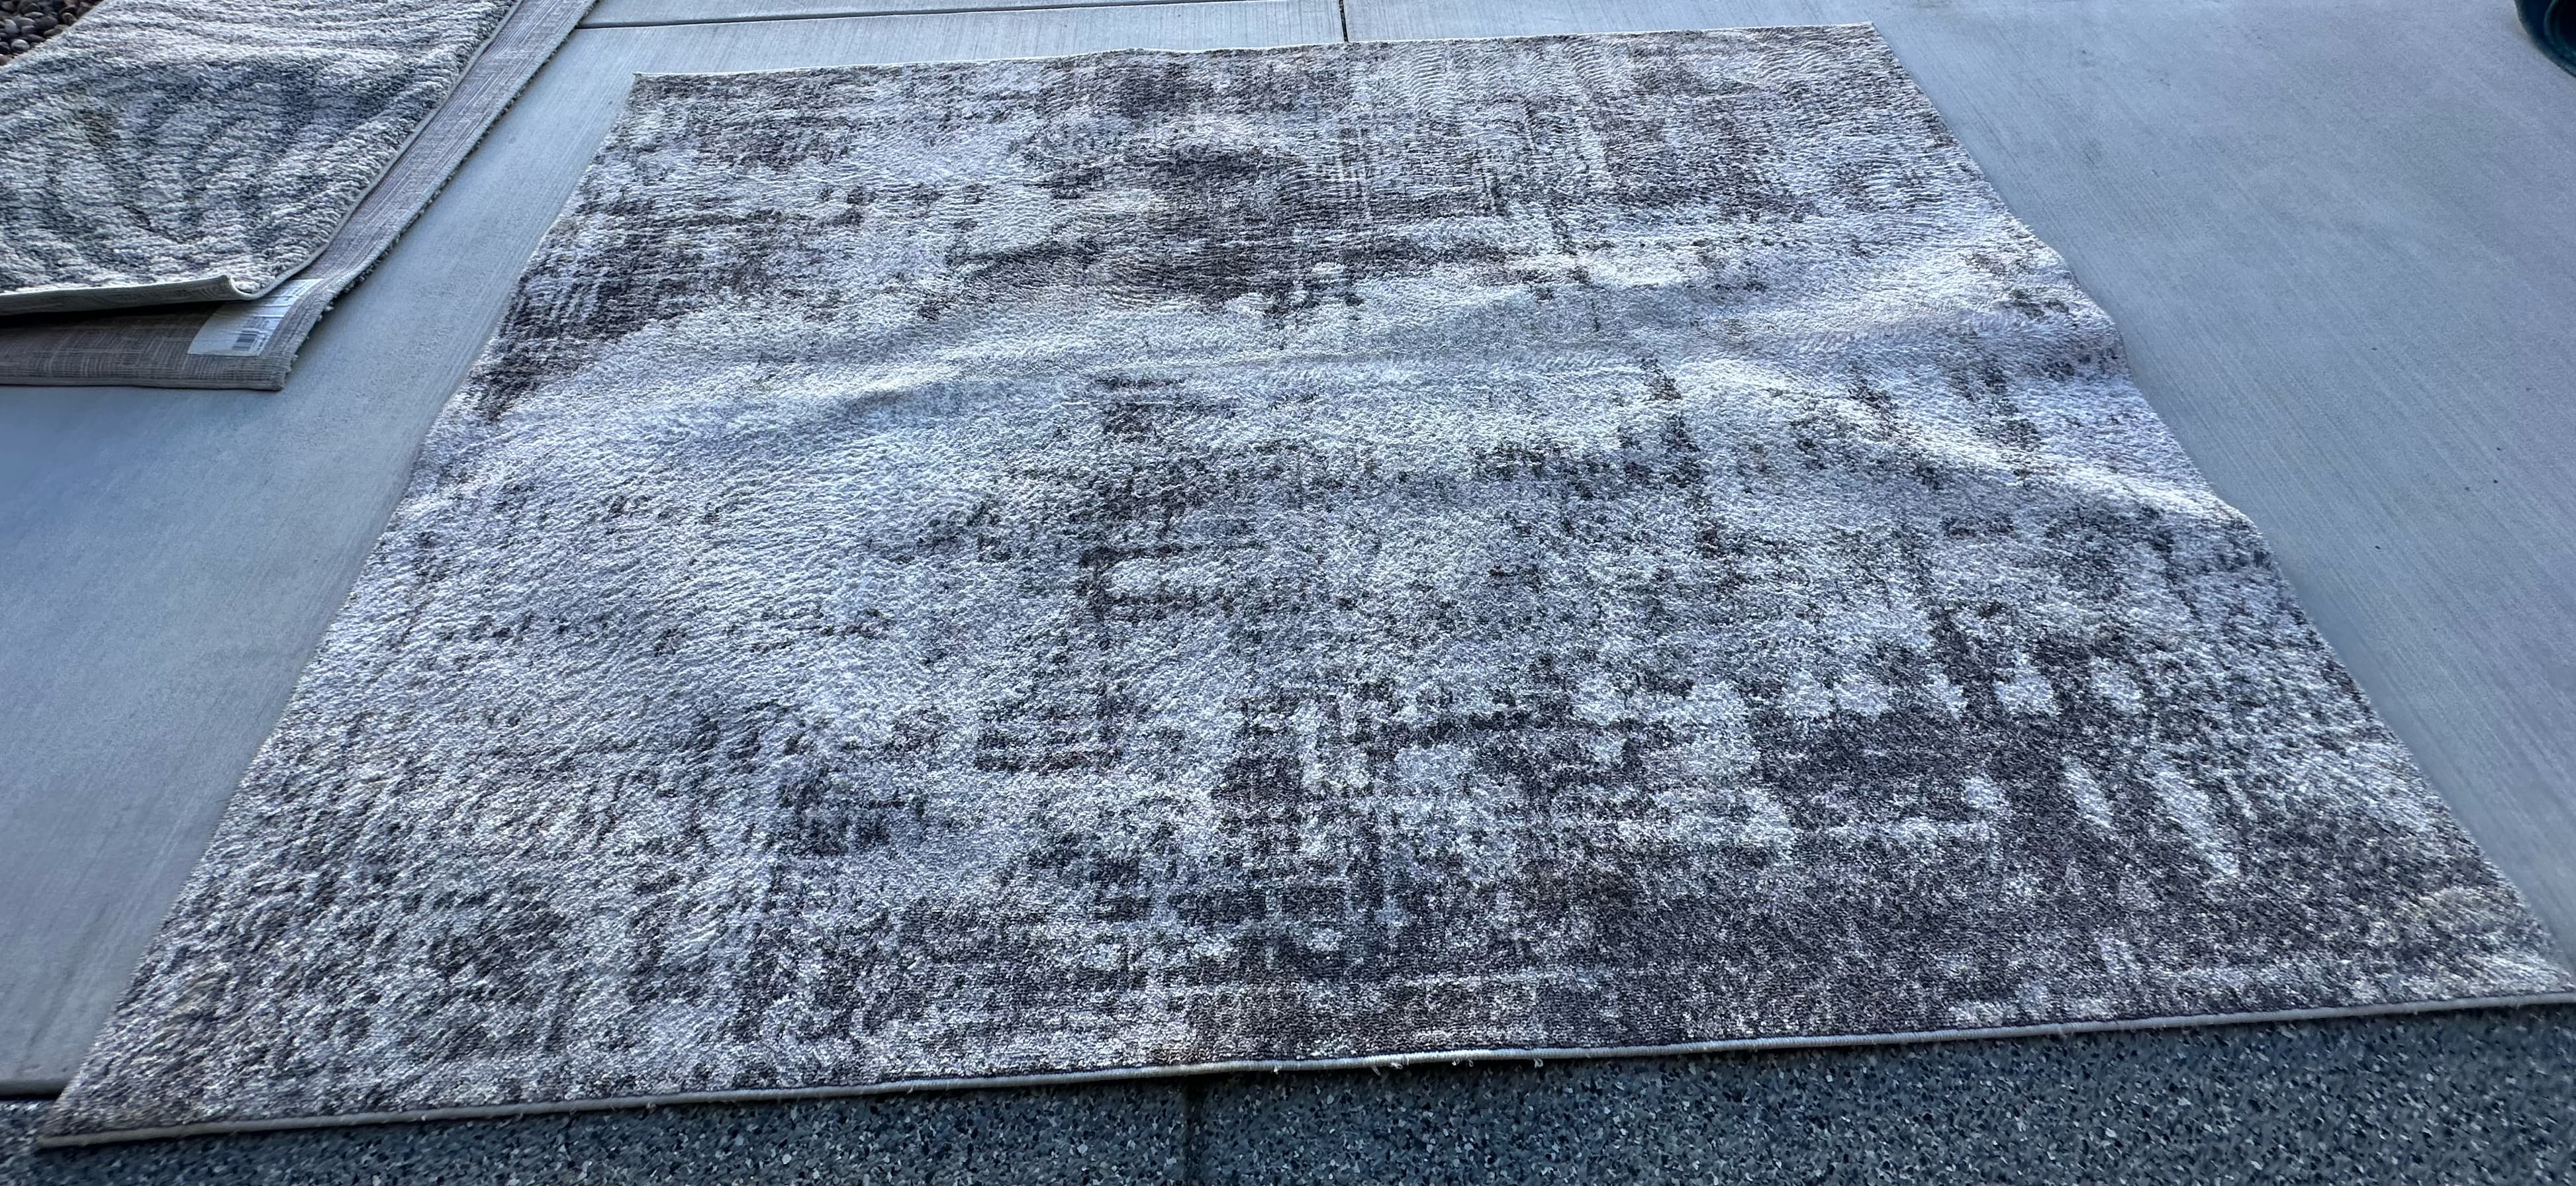
Two look like this:
Step 8.
Step 9.
Step
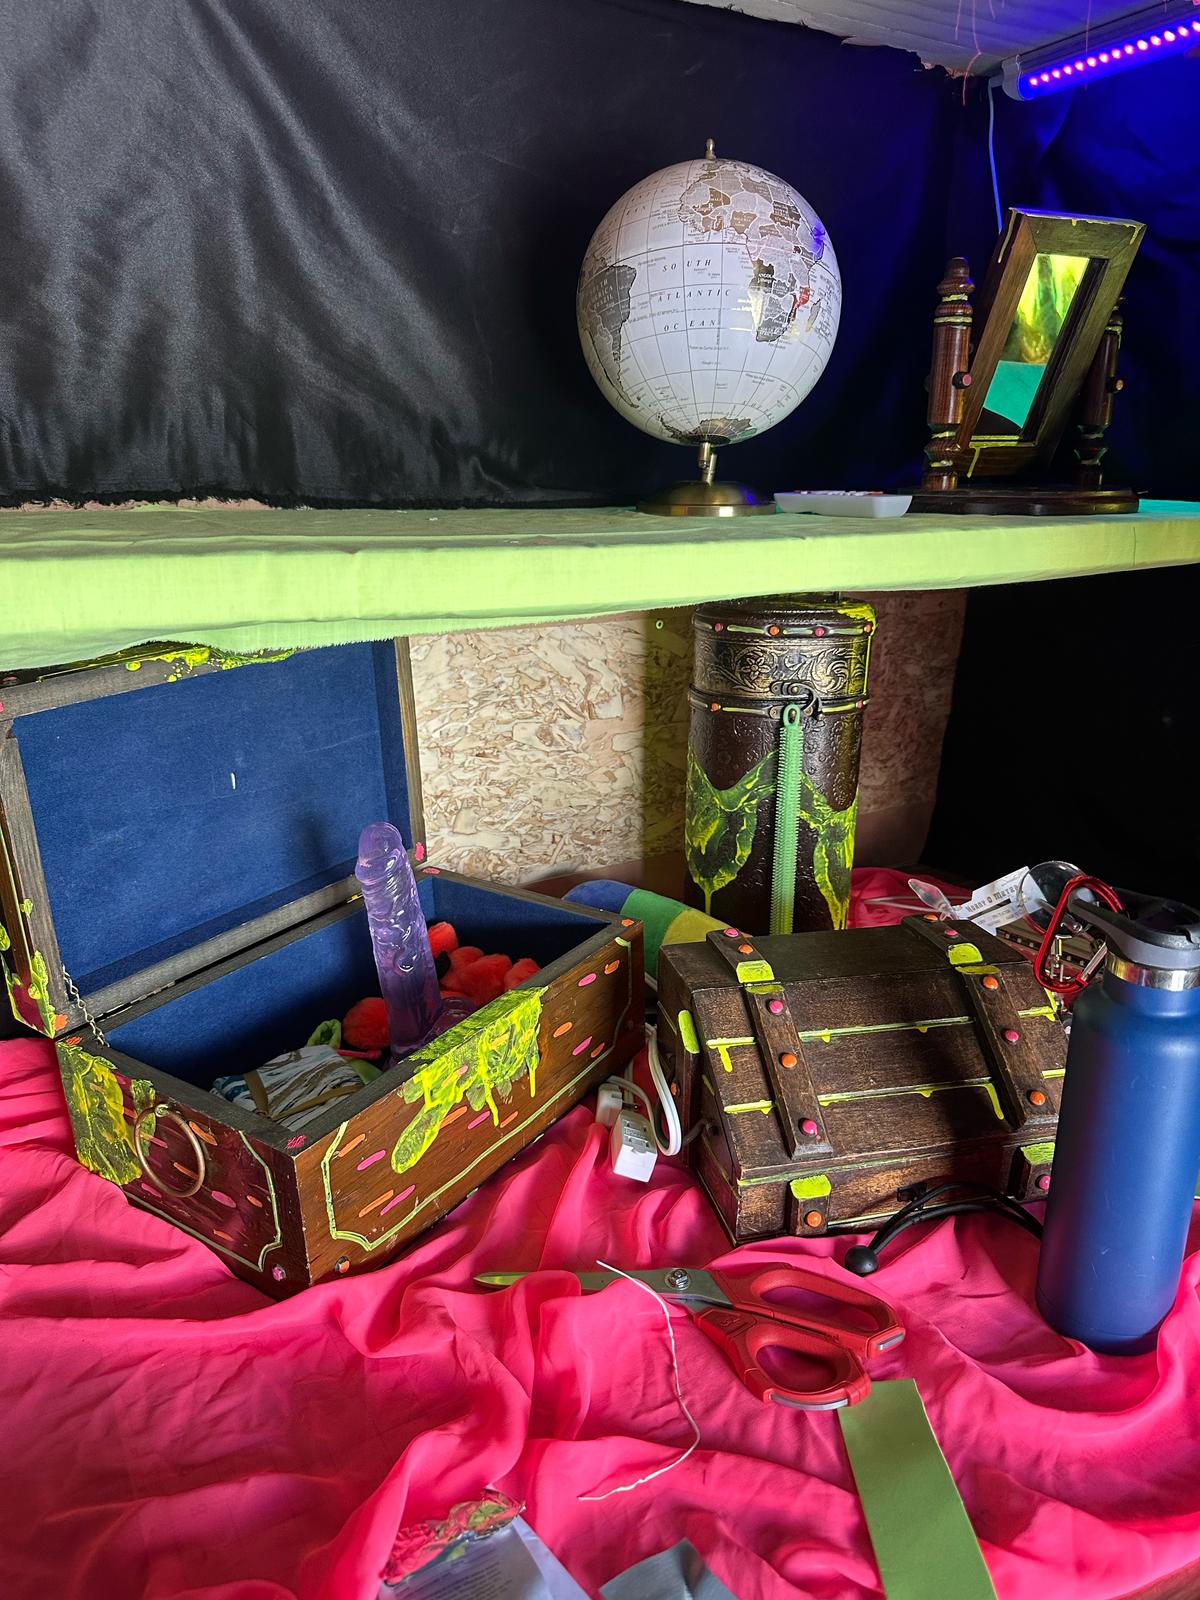
The entrance exhibit is meant to evoke an underwater / seafaring vibe, as if you found the gear from an old sea captain's cabin that had sunk below the sea. It provides a lit focal point when you enter the trailer. It also provides intimate and cleanup supplies, like condoms, lube, wet-wipes, nitrile gloves, paper towels, a little trash can, and a flashlight to help people clean up, in a well-lit space so visitors see it and know to use it.
Step
Step
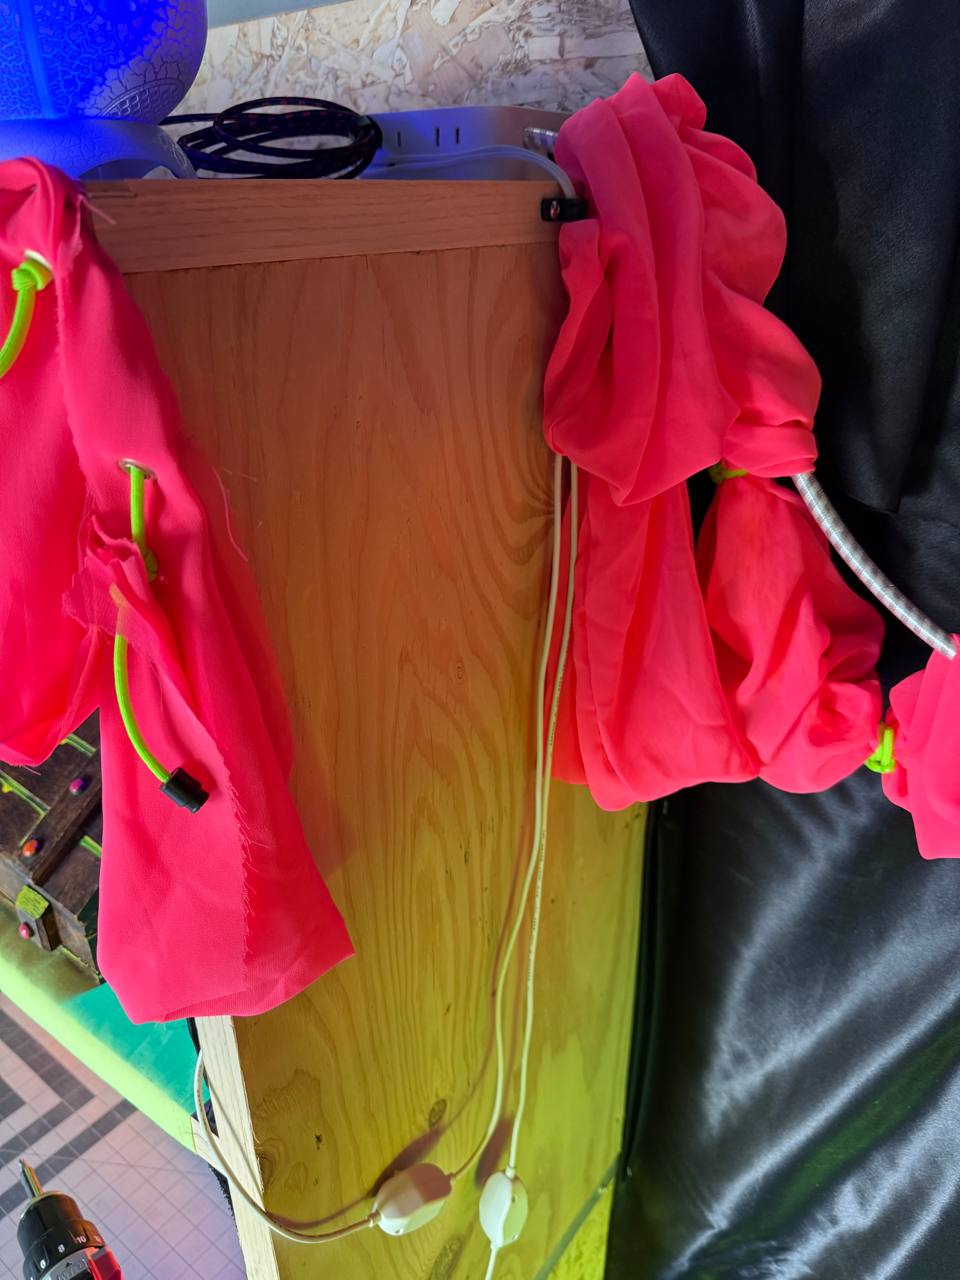
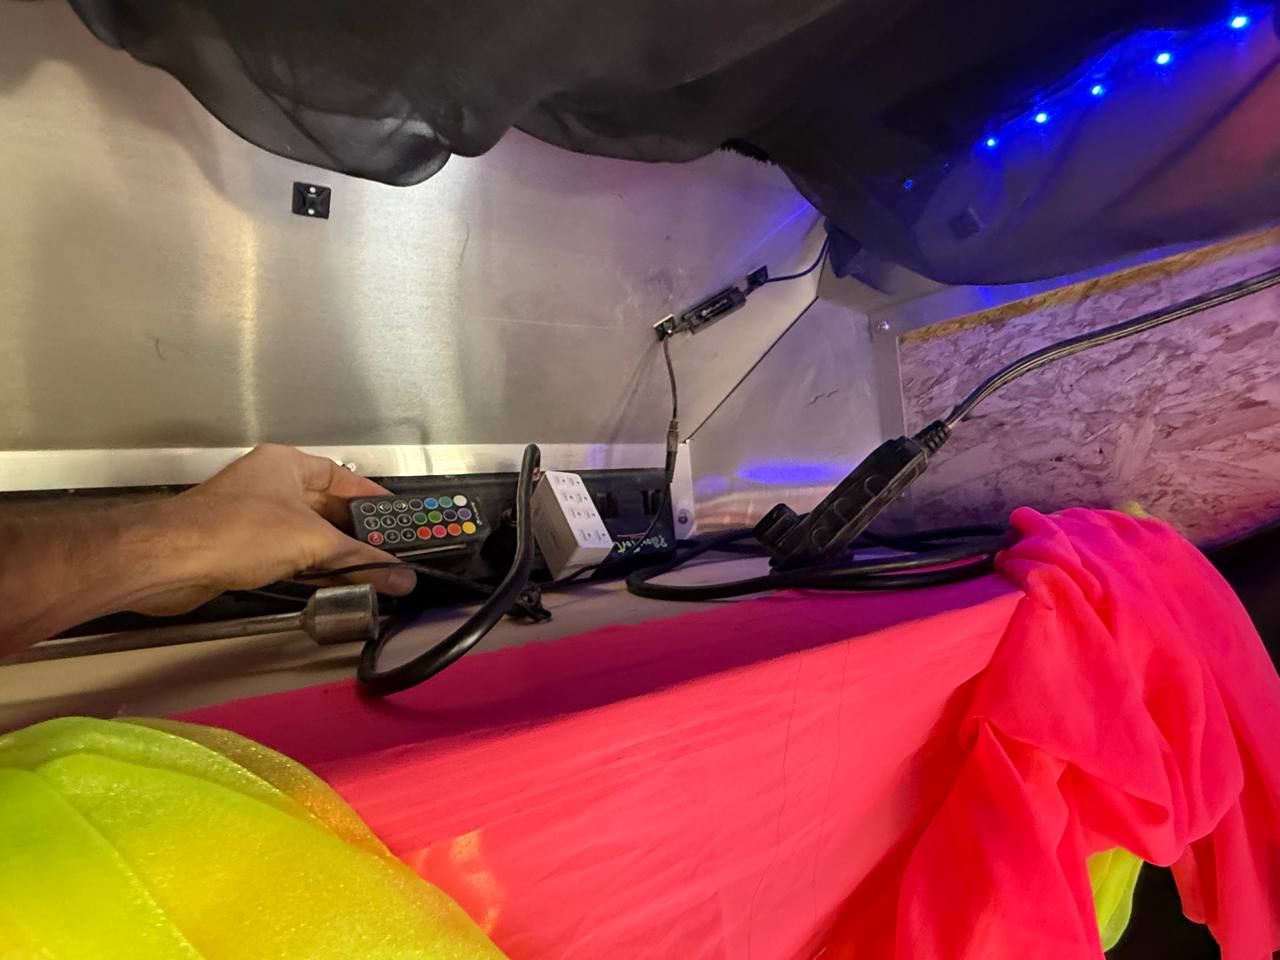
Turn on the installed lights. One plug should be in the door and one near the 'work table'. Here is what the cables near the door look like. Feel free to select a color; we typically go with blue or violet.
Step
Congrats! You've set up the pillow fort and it is now ready for lounging. Invite others to nest when you decide to leave its cool embrace.